I Am... A beginner’s guide to food photography
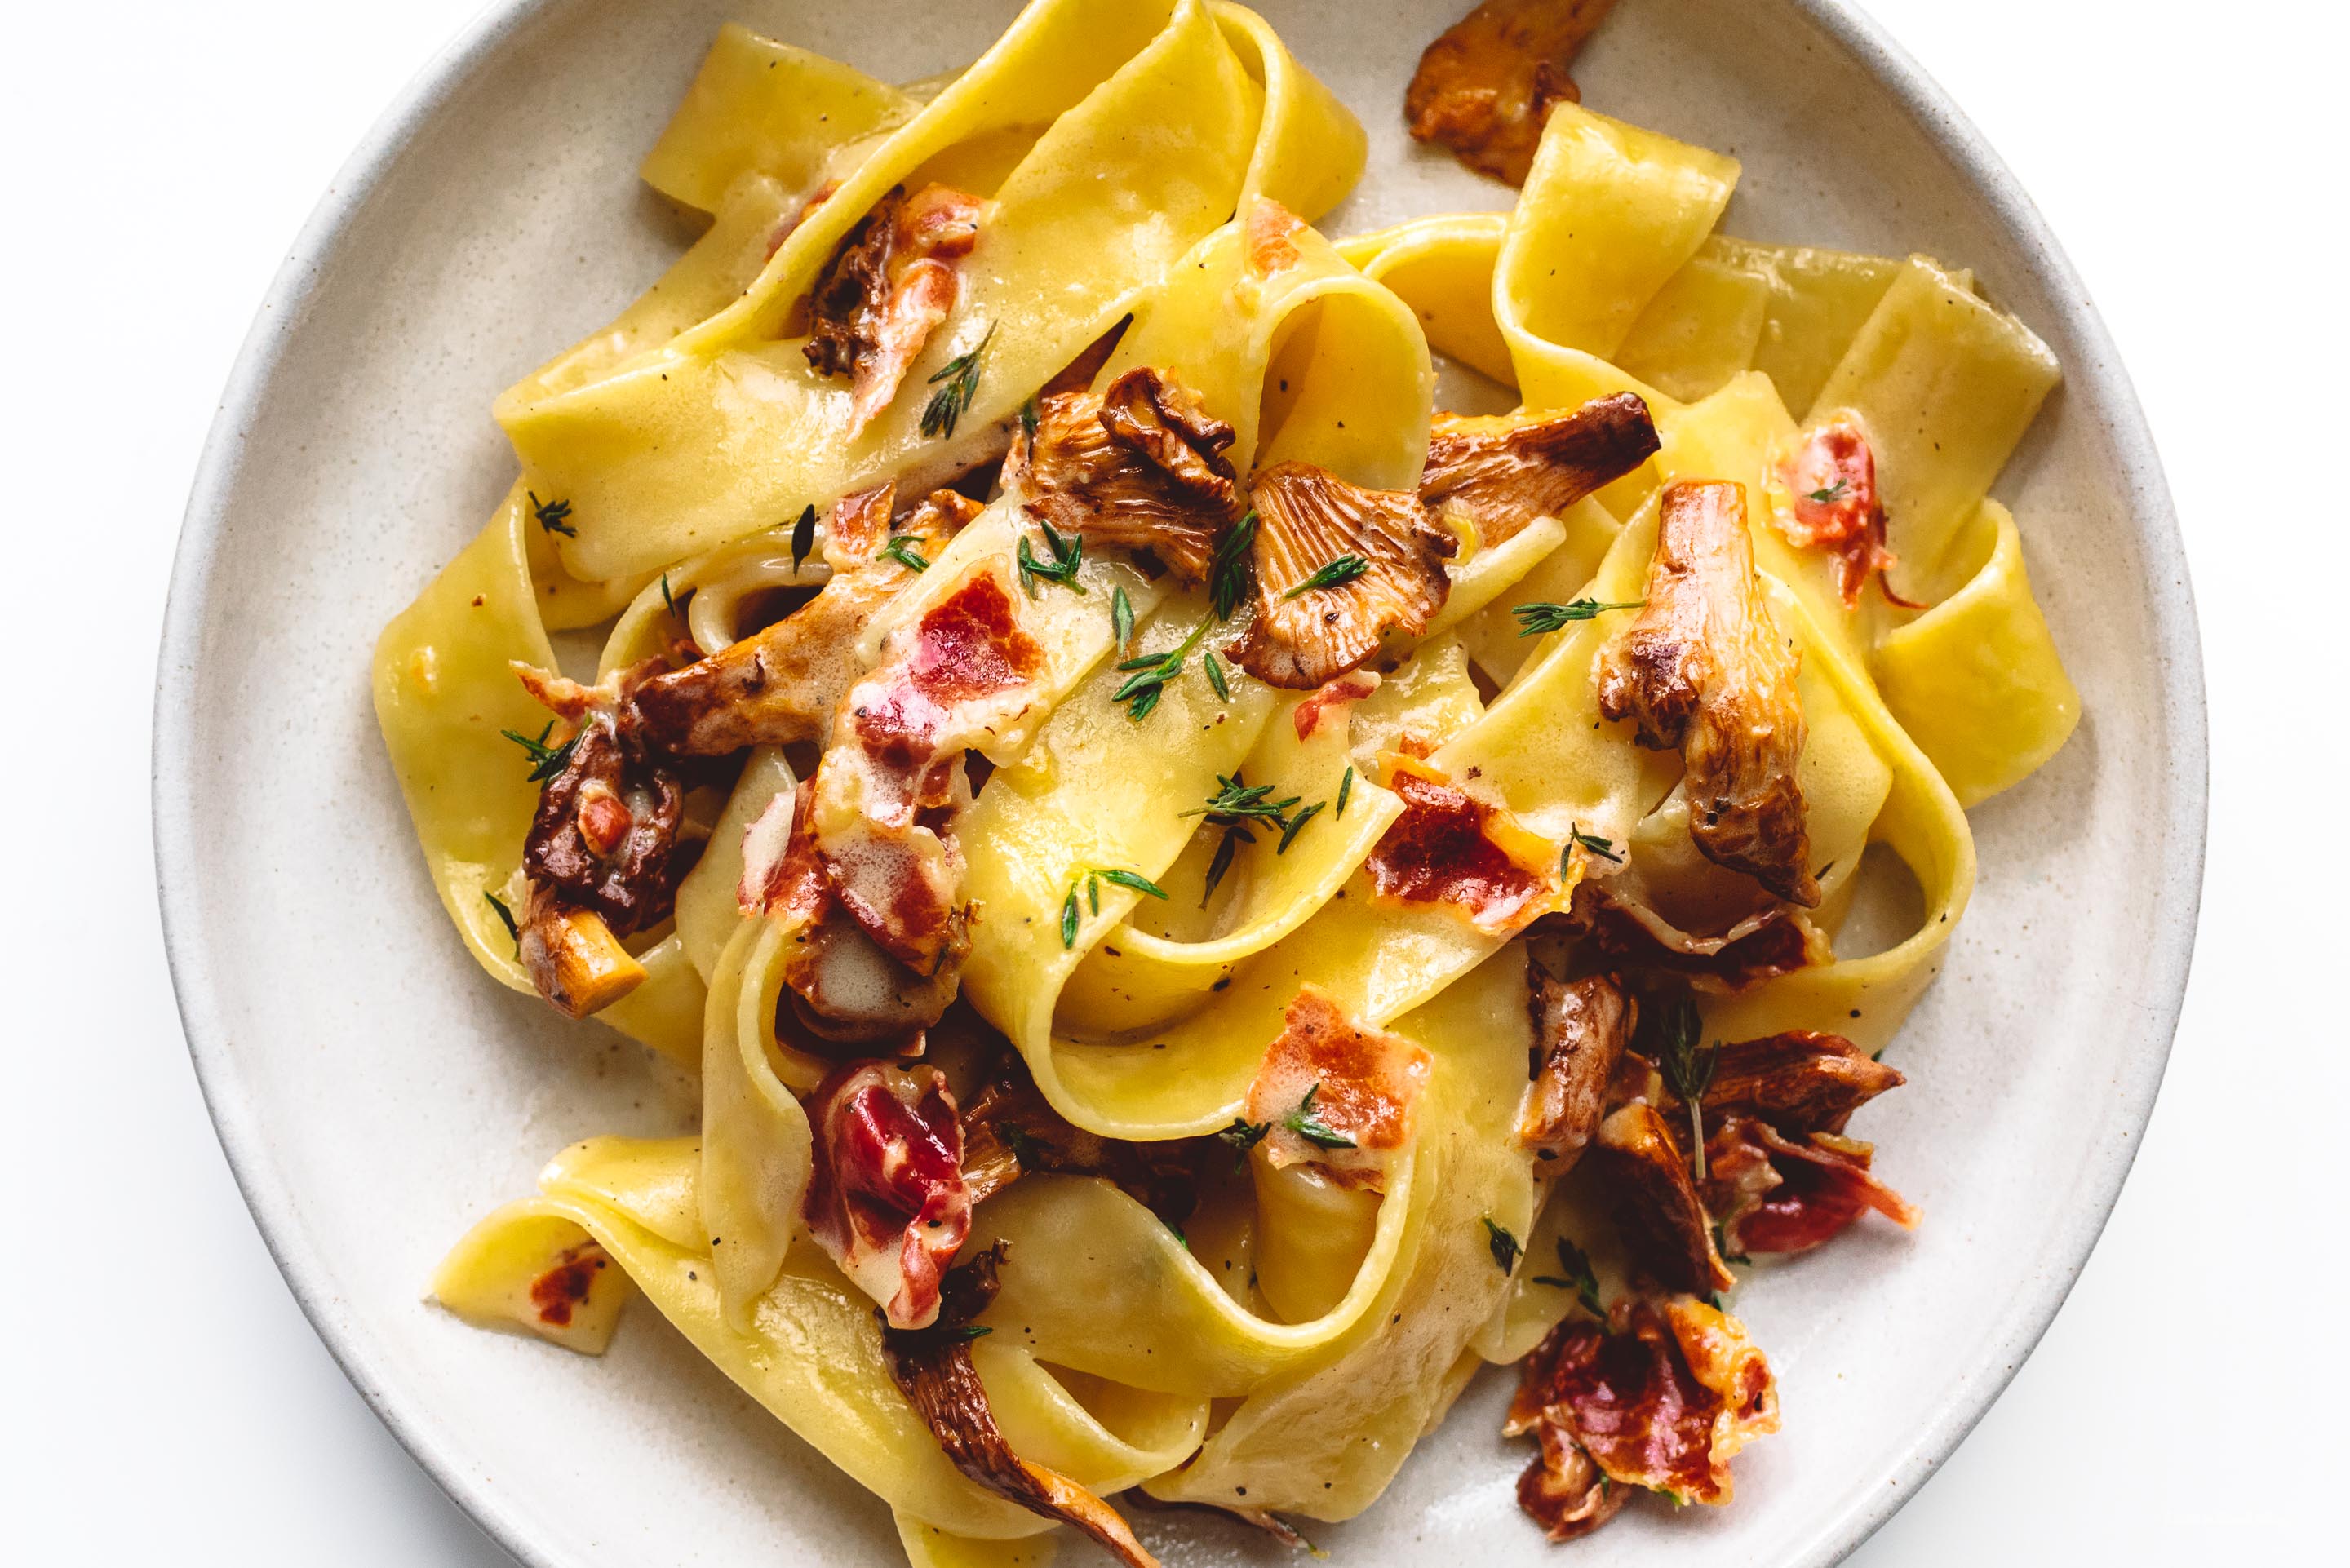
Steph is out sick with the flu to end all flus so I'm picking up the slack with some posts that we've been putting off, starting with this beginner's guide to food photography. When I was first starting out shooting food, I found tons of general tips for how to take great food photos online but what I wanted most (and never found) was a guide that said: “Do you like this photo? Here’s how you make it from beginning to end” - so today that's what I'm going to be doing with this gorgeous shot from Bon Appetit's Pasta with Mushrooms and Prosciutto: [caption id="attachment_21760" align="alignnone" width="725"] Photo credit: Bon Appetit / Michael Graydon + Nikole Herriott[/caption] It's important to choose a good recipe to practice with because many dishes will wilt, congeal, or otherwise look unappealing when you’re taking a long time to take photos (I’m looking at you, egg yolks). This pasta is a nice stable dish that will look as good 30 minutes later as it does right out of the pan, because it's glossy, stable, and most of all, pretty. I adapted the recipe fairly heavily to make life simpler on myself and it ended up being a pretty amazing 6 ingredient pasta dish that you definitely need to try. I dropped BA’s ingredient-heavy sauce in favor of emulsifying cream, parmigiano, pancetta fat, and pasta water into a sauce. It came out awesome, and is easily one of the most impressive dishes you could make in 15 minutes. This post is going to be pretty long, so it’s split up into 3 parts. Feel free to jump around or skip: 1. Technical Stuff: Cameras, Lenses, RAW vs JPEG, and Manual Shooting, 2. How to recreate the shot: Lighting, Angles, Food Styling 3. Giveaway: How to get two free awesome Nikon lenses (they fit most mirrorless cameras too)
Part I - technical stuff you need to know for food photography
CAMERAS They say the best camera is the one you have with you - I say the second best camera is the one you already own. There's no real reason to run out and get a new camera just to shoot food. If you did want to however, there are a lot of cameras on the market these days, from mirrorless, to superzooms, to full frame SLRs that all claim to be the best thing since sliced bread, and they’re probably not wrong if you have thousands of dollars. On the more reasonable end of the pricing bin, a good budget DSLR will outperform anything else in its price range both on image quality and professional features. Even if you have thousands of dollars, when you walk into any professional studio, you’ll always see an SLR as the main camera used, and there’s a good reason for that: an SLR is a system that allows you to upgrade your component parts as you outgrow them. [caption id="attachment_21774" align="alignnone" width="1450"] Taken with an iPhone 6[/caption] If you’re on a budget, you definitely don’t need an SLR to get good photos. All of the tips and tricks in this post work with any camera. Photography is about what you know, not your gear. But good gear certainly helps. Takeaway: A DSLR is the best type of camera for food photography. Budget pick: Nikon D3400 Splurge pick: Nikon D500 More money than sense: Nikon D850 LENSES The lens of your camera is the single most important thing on it. Most people start off using the lens that comes with their camera, then look for something with creamy bokeh or something for low light. For food photography, there is pretty much no reason to get a zoom lens. The best pick for a good food lens that won’t blow your budget is a prime normal lens. A normal lens is one that doesn’t distort the image coming in, vs a wide angle or a telephoto. If you have a crop sensor - which is to say if your SLR didn’t cost $2000 or more - this means you’re looking for a 35mm lens, and if you have a full-frame, you need a 50mm lens. [caption id="attachment_21789" align="alignnone" width="1450"] 20mm f/3.5 Nikon D810 - note how flat the rim of the plate looks and how much space there is between the food and plate[/caption] [caption id="attachment_21790" align="alignnone" width="1450"] 50mm f/3.5 Nikon D810[/caption] Generally, lenses are priced based on construction, focus motor, build quality, coatings, and stabilization. For food photography, you don’t need build quality, coatings, or stabilization, so if the lens will never leave the kitchen, there’s very little need to buy a fully weather sealed nano-coated lens with 6 axis stabilization. Takeaway: Buy a prime normal lens that doesn’t break the bank. Budget pick: 50mm 1.8D Splurge pick: 35mm 1.8G DX More money than sense: 50mm 1.4G RAW vs JPEG SLRs have the option to save your photos as RAW or JPEG. While JPEG has a smaller file size and is ready to go right out of the camera, you should really shoot in RAW when you can. RAW files contain the image information your camera sees and can be ‘developed’ in post on your computer. Your camera’s sensor actually sees a wider range of light than your eyes can see (even infrared if the filter is removed), so RAW files contain much more light information than JPEG, and that means you get a lot of headroom to play with. Photo too bright or too dark? White balance is off? You can fix that in post, but only if you shoot RAW. You’ll need something to develop the raw files in however, whether that is photoshop, lightroom, capture one, or something else. [caption id="attachment_21794" align="alignnone" width="1450"] deliberately underexposed RAW shot[/caption] [caption id="attachment_21795" align="alignnone" width="1450"] the same shot, fixed in post[/caption] Takeaway: Shoot in RAW ISO, APERTURE, & SHUTTER SPEED You should shoot in Manual mode. There are a lot of guides on the internet about how to use the manual controls on your camera, so I’m going to skip to the important bits. The exposure of a photography is controlled by 3 elements: ISO, aperture, and shutter speed. The idea behind this is that you balance these three items to get a properly exposed image - more ISO, faster shutter speed / smaller aperture, slower shutter speed, that kind of thing. ISO is how sensitive your sensor is. Every sensor has a different min/max ISO, and generally speaking it’s always safe to use something between 100 and 800. The higher you go up, the grainier your photo will be, and that can definitely be an artistic choice. For food photography, I like 500. [caption id="attachment_21803" align="alignnone" width="1450"] ISO100 vs ISO12800[/caption] Shutter speed is how long the camera takes light in for. In food photography, you only need to care about two things when it comes to shutter speed: 1. is it so low your hand shake blurs the photograph? 2. Do you want to capture some falling action? The answer to 1 is to keep it above 100. If you have steady hands, you can go down to 60 or 30, but why risk it? The answer to 2 is to keep it above 1000. [caption id="attachment_21806" align="alignnone" width="1450"] f/2.5[/caption] [caption id="attachment_21807" align="alignnone" width="1450"] f/11[/caption] Aperture is how wide of an opening the lens creates, and is confusingly numbered opposite to size, so f/1.4 is a huge hole and f/16 is a tiny hole. The larger the number though, the more of the image will be in focus. Aperture’s main benefit is to determine how much of your background and foreground is in focus (bokeh) and is mostly an artistic decision, but here is a quick tip: on almost all lenses, the lowest and highest number will usually produce a less sharp image than if you use one or two stops away. For instance, on the Nikon 1.8G lenses, the sharpest image comes from F/2.8, even though the lens goes down to F/1.8. Takeaway: ISO range: 100-800, Shutter speed above 100, aperture: avoid the first and last settings.Part II - how to take a food photo like Bon Appetit
So now that we have the technical stuff out of the way, what do you need to know to shoot this photo? Good food photos come down to lighting, angles, and food styling. LIGHTING The best lighting for beginning food photography is right next to a window outside of direct sunshine, like a north facing window (or any other direction window when the sun is not shining in directly). Get as close to the window as you can. The farther away from your light source you go, the longer your shadows, and long shadows aren’t always a good thing in food photography. You should also turn off all other sources of light in the house, because conflicting light sources will wreck your white balance, cast multiple shadows, and create odd reflections. [caption id="attachment_21811" align="alignnone" width="1450"] this is what happens when you have conflicting lighting sources[/caption] Takeaway: Turn off all the lights, use natural light from a window, not direct sunlight, get as close to the window as possible. ANGLES In food photography, unless you get really creative there are only three possible angles: overhead, perspective, or side view. Most people gravitate towards overhead because that’s both easiest and you don’t have to worry about having a nice background behind the food. I prefer a more perspective view, because that’s how we see food in real life, but most people will be more impressed with an overhead shot. If you are shooting from perspective or side, the angle your light comes from is very important. Light from in front of your food will be brightest but wash out textures. Light from the side shows texture best. Light from behind will backlight your food. Generally speaking, stick with light from the side when shooting in perspective. [caption id="attachment_21846" align="alignnone" width="1450"] light from front[/caption] [caption id="attachment_21844" align="alignnone" width="1450"] light from side[/caption] [caption id="attachment_21845" align="alignnone" width="1450"] light from behind[/caption] Takeaway: Shoot from overhead, with light from the top or side FOOD STYLING Getting your food looking the way you want it to when you shoot is probably the most difficult part to learn, and whole courses could be developed on the subject. There are no hard and fast rules on getting food to look good, but here are my hard and fast rules:- Food should be glossy if it's supposed to be glossy
- Stick to a color palette, don't go nuts
- Don't go monochrome either
- Garnishes should be either sparing, or extremely generous
- Plate your food as a generous portion for one
CLOSED! Part III - the giveaway
I've been shooting Nikon since before they made DSLRs, my first camera was a Nikon F4 and I've been hooked ever since, and I've hooked Steph into it as well. So it was an obvious choice to partner with Nikon to help new food photographers find their feet. To do this, we're giving away 2 lenses - the 35mm f/1.8G and an amazing 85mm f/3.5G ED VR macro lens - worth $750 if you buy them today on Amazon. Both of these lenses are perfect for any new (or veteran) food photographer and both will fit every Nikon ever made, plus with a pretty cheap converter will fit most mirrorless cameras including Fuji, Olympus, and Sony.
CLOSED! Congrats Francis Moon, keep your eyes on the lookout for an email from me!
[caption id="attachment_21829" align="alignnone" width="1450"] in case you ever wanted to count the grains of pepper on your food[/caption]
6 ingredient mushroom pasta with chanterelles and pancetta
- 2 tbsp olive oil
- 1 oz pancetta (thinly sliced, about 5 slices)
- 1/2 cup cup chanterelles (torn into small pieces, or other mushroom of choice)
- 1 tsp fresh thyme (plus more for garnish)
- 3.5 oz pappardelle (or fettucine)
- 1/4 cup heavy cream
- 1/4 cup Parmigiano Reggiano cheese (grated)
Set a large pot of salted water to boil.
Heat oil over medium heat in a large saute pan and fry the pancetta until crispy. Remove the pancetta and set aside on a paper towel lined plate. Reserve saute pan and oil.
Turn the heat to high and add the mushrooms to the pan. Cook for 10 minutes or until golden brown, then remove and drain. Turn off the heat.
Cook pasta for 4 minutes. Add a cup of pasta water to the saute pan and turn heat back to medium. Whisk oil and water mixture together until emulsified (about 1 minute).
Using tongs, transfer pasta to saute pan, along with another cup of pasta water, cream, thyme, and parmigiano. Reserve pasta water. Cook until pasta is the desired doneness, adding pasta water as necessary.
Add mushrooms and pancetta back to the pasta, season with kosher salt, black pepper, and extra thyme.
You can start making the pasta about 5 minutes after the mushrooms have been started.
Very adapted from Bon Appetit

I Am... 10 Holiday party appetizers your friends won’t be able to get enough of
Appy hour – it's the happiest hour around. Give me all the appetizers at holiday parties because I'd rather eat a meal full of many little bites of different dishes then lots of one dish! Here are 10 holiday party appetizers that are 100% friend approved :)
Read More →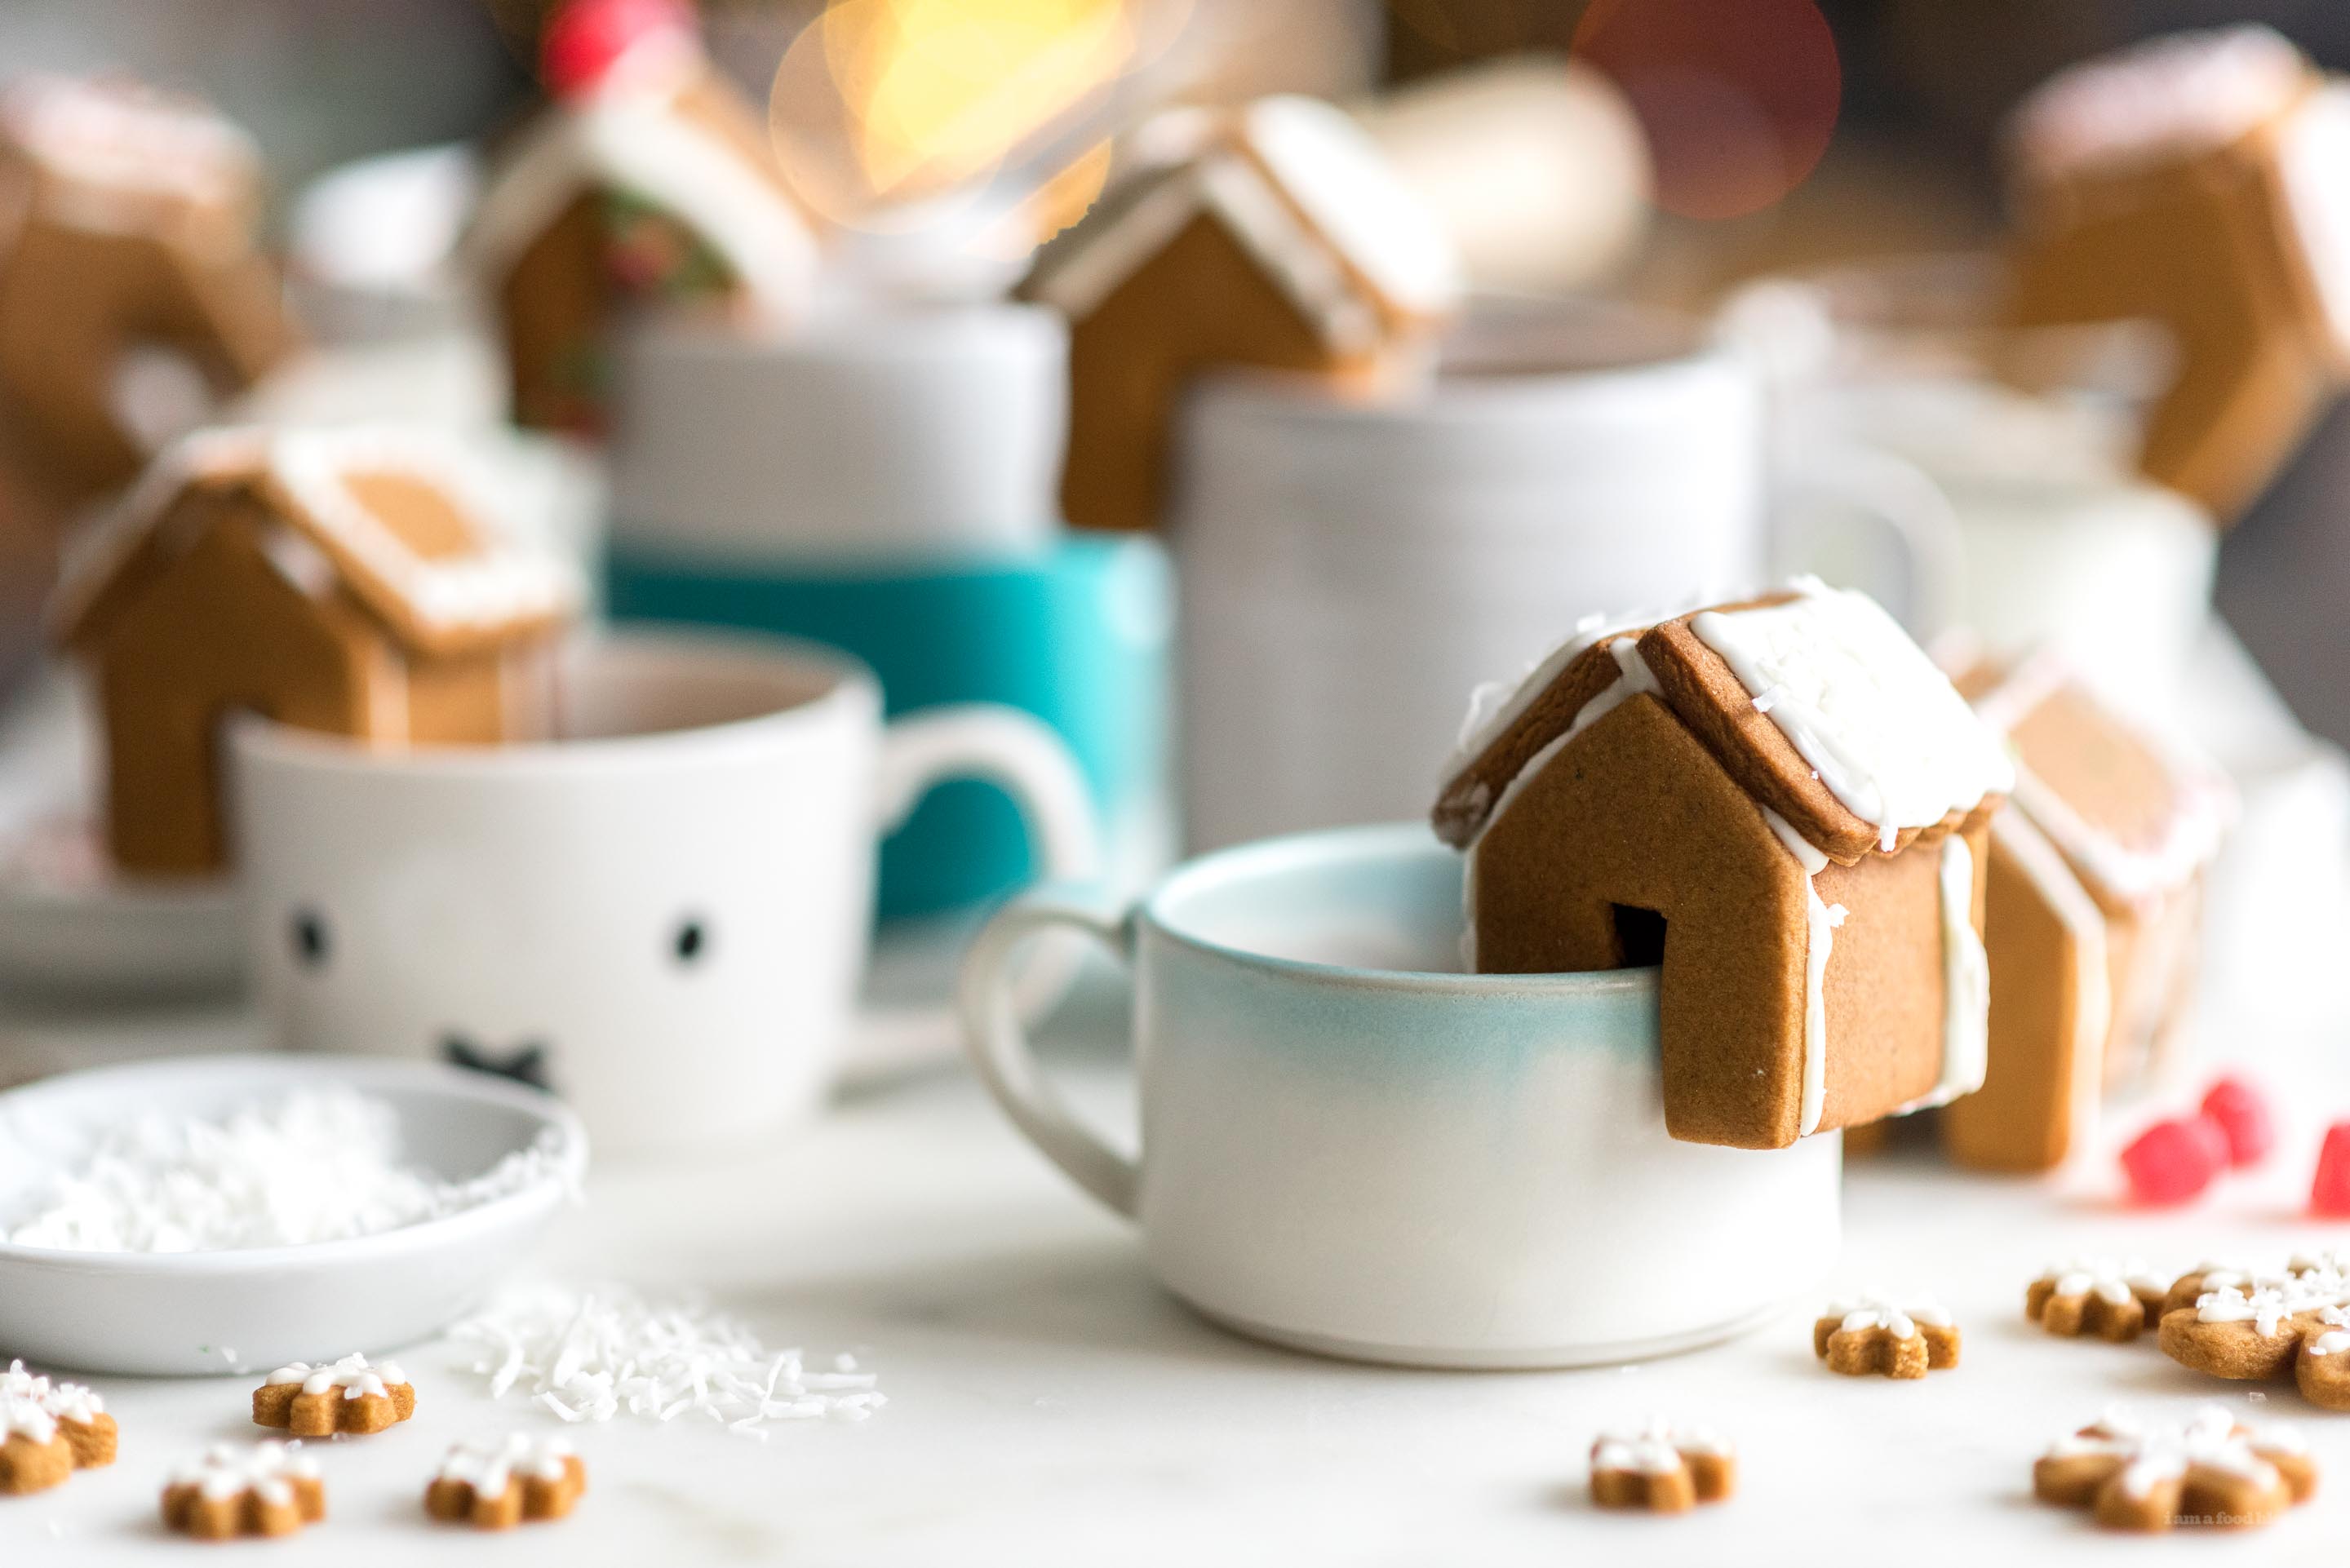
I Am... Mini Gingerbread Houses
How cute are these tiny gingerbread houses? They totally put me in the holiday mood. There's just something magical about the smell of gingerbread baking. I love opening up all the windows and letting in the cold December air so you get that mix of warm and cold. Somehow the smell of the crisp outside makes warm gingerbread smell even more intensely like the holidays.
Read More →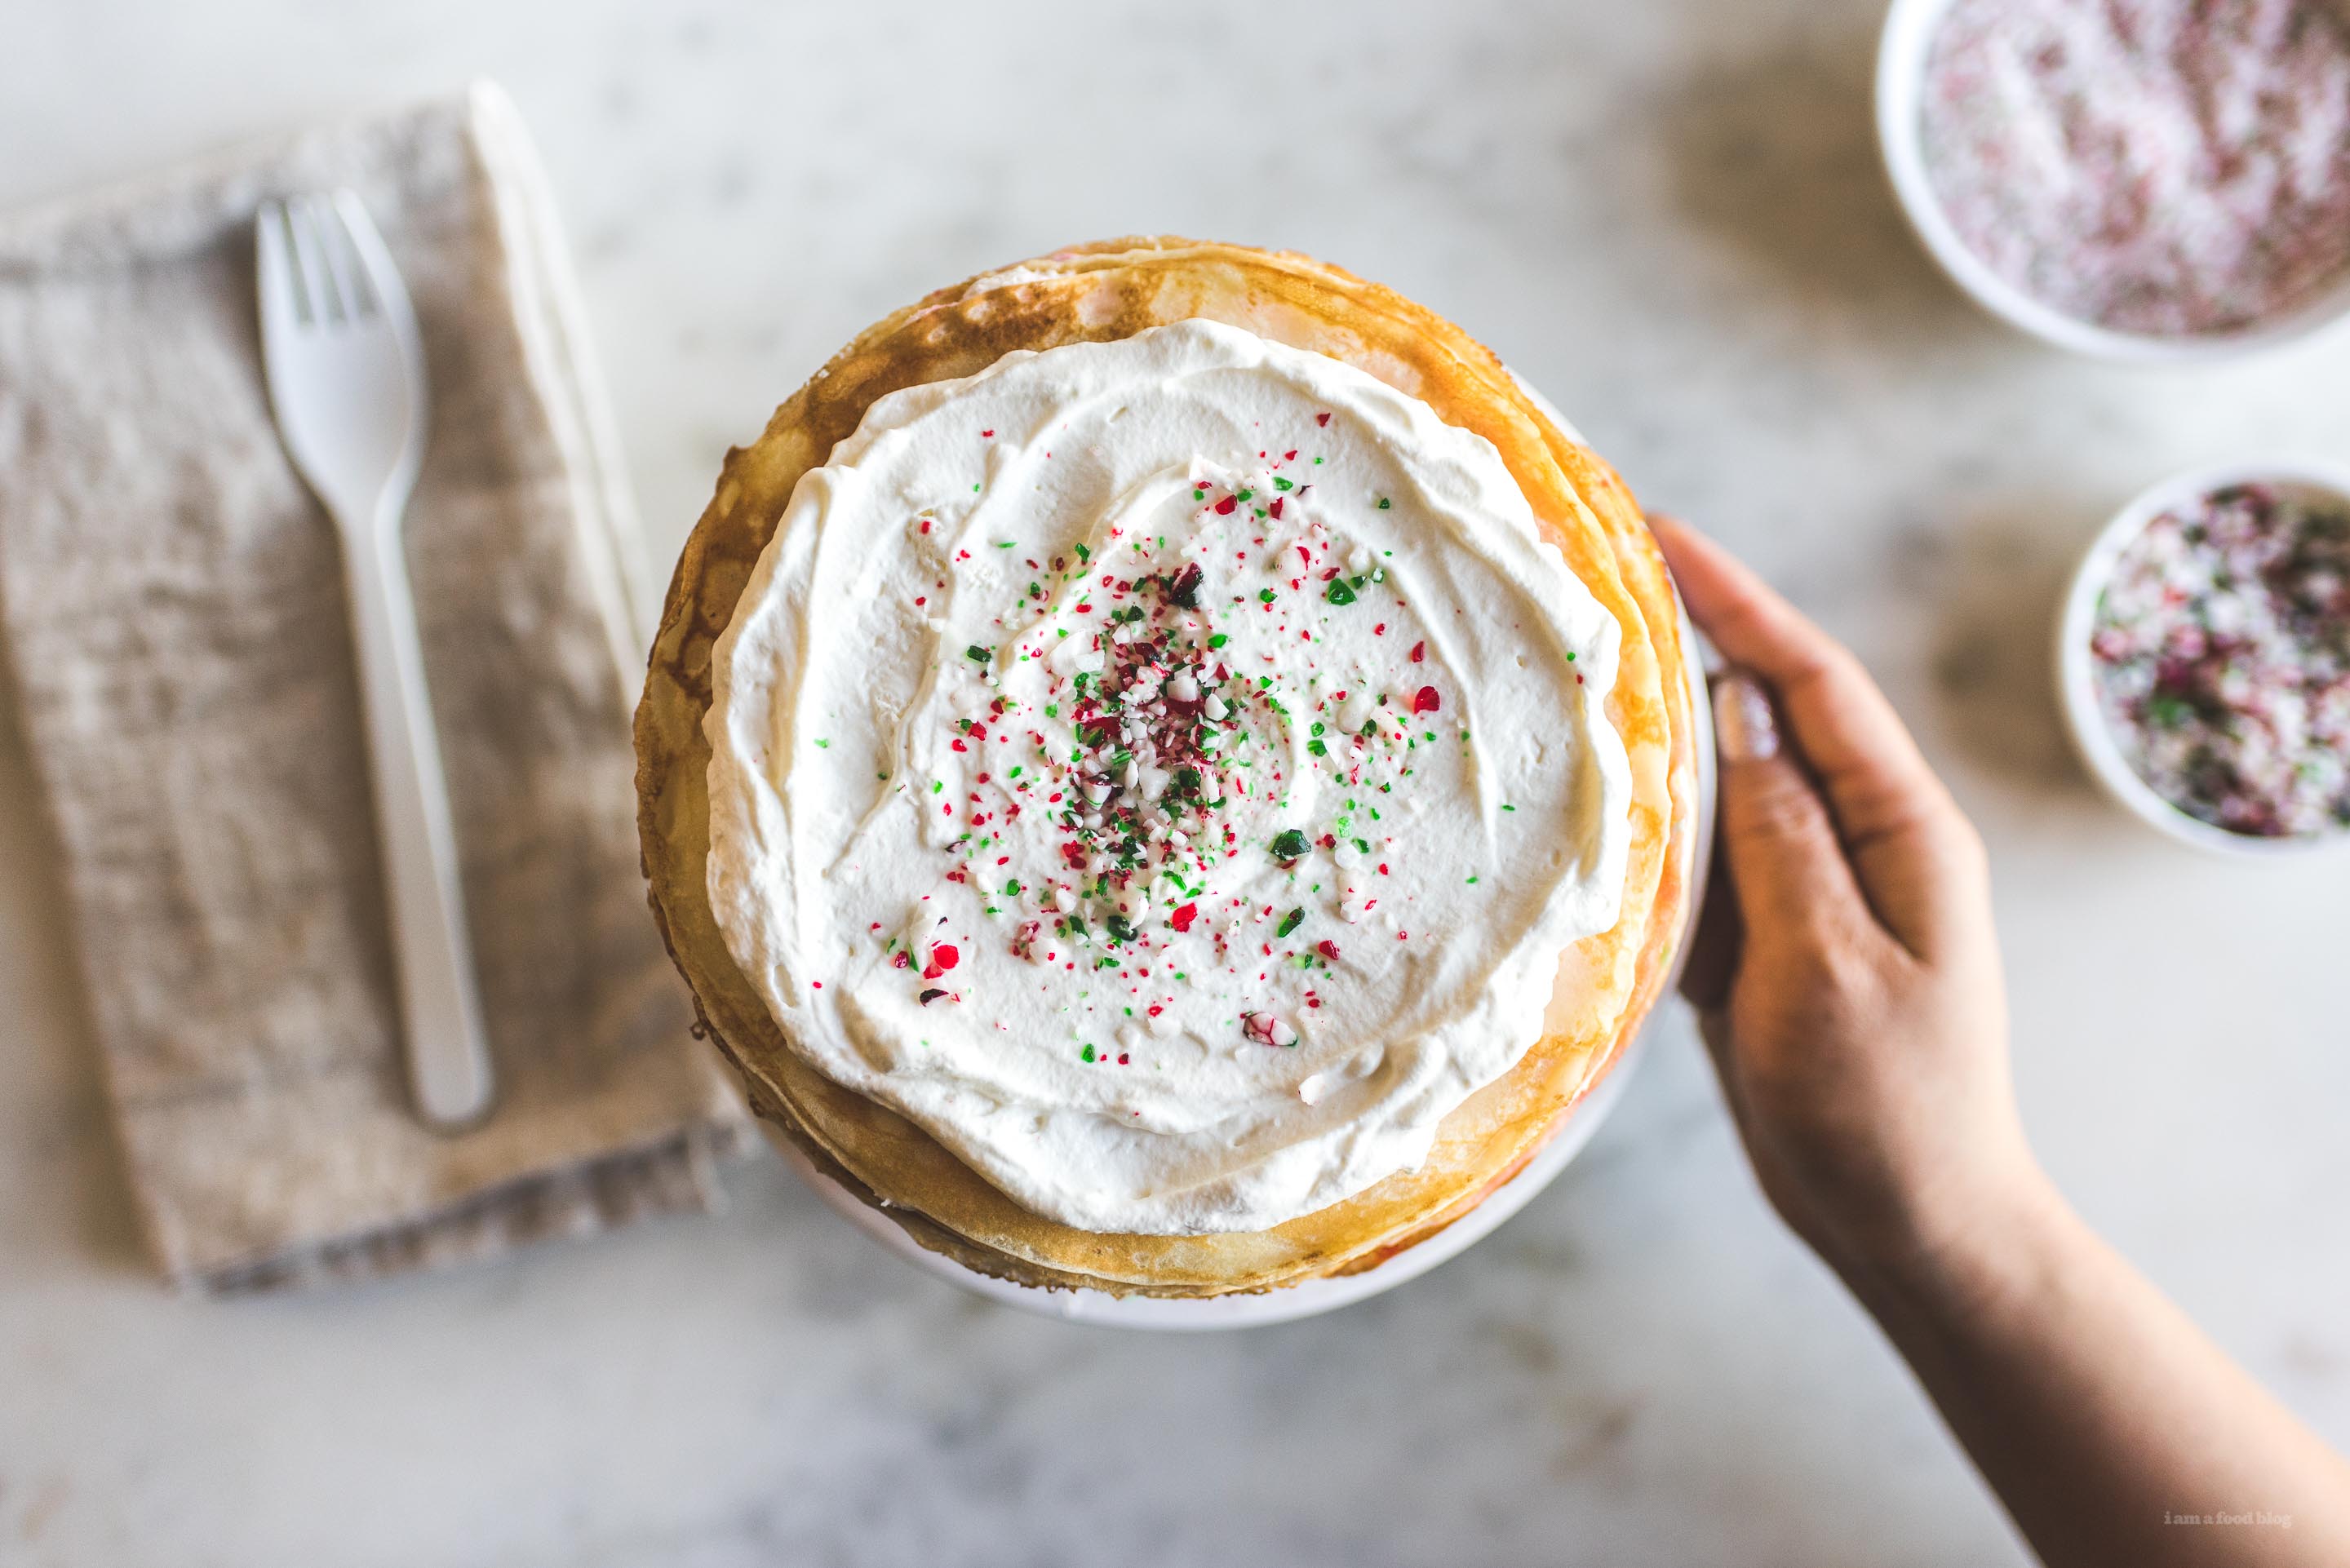
I Am... Peppermint Bark Crepe Cake Recipe
If you're looking for a show stopping winter holiday cake, this peppermint bark crepe cake is the way to go. Layers and layers of delicate crepes sandwich lightly sweetened whipped cream with white chocolate and crunchy candy canes. It tastes just like the holidays are supposed to taste!
Read More →
I Am... What to Cook in December
December is one of the best months of the year, but let's face it, everyone is crazy busy. Between all of the holiday shopping, parties, and merry making, sometimes all I want is a good cozy, fast meal. So here's the answer to what to cook in December: 11 dishes you can make in a flash without sacrificing flavor. Fast (or mostly hands-off), warm, cozy, and delicious. What more could you want during the busy season?
Read More →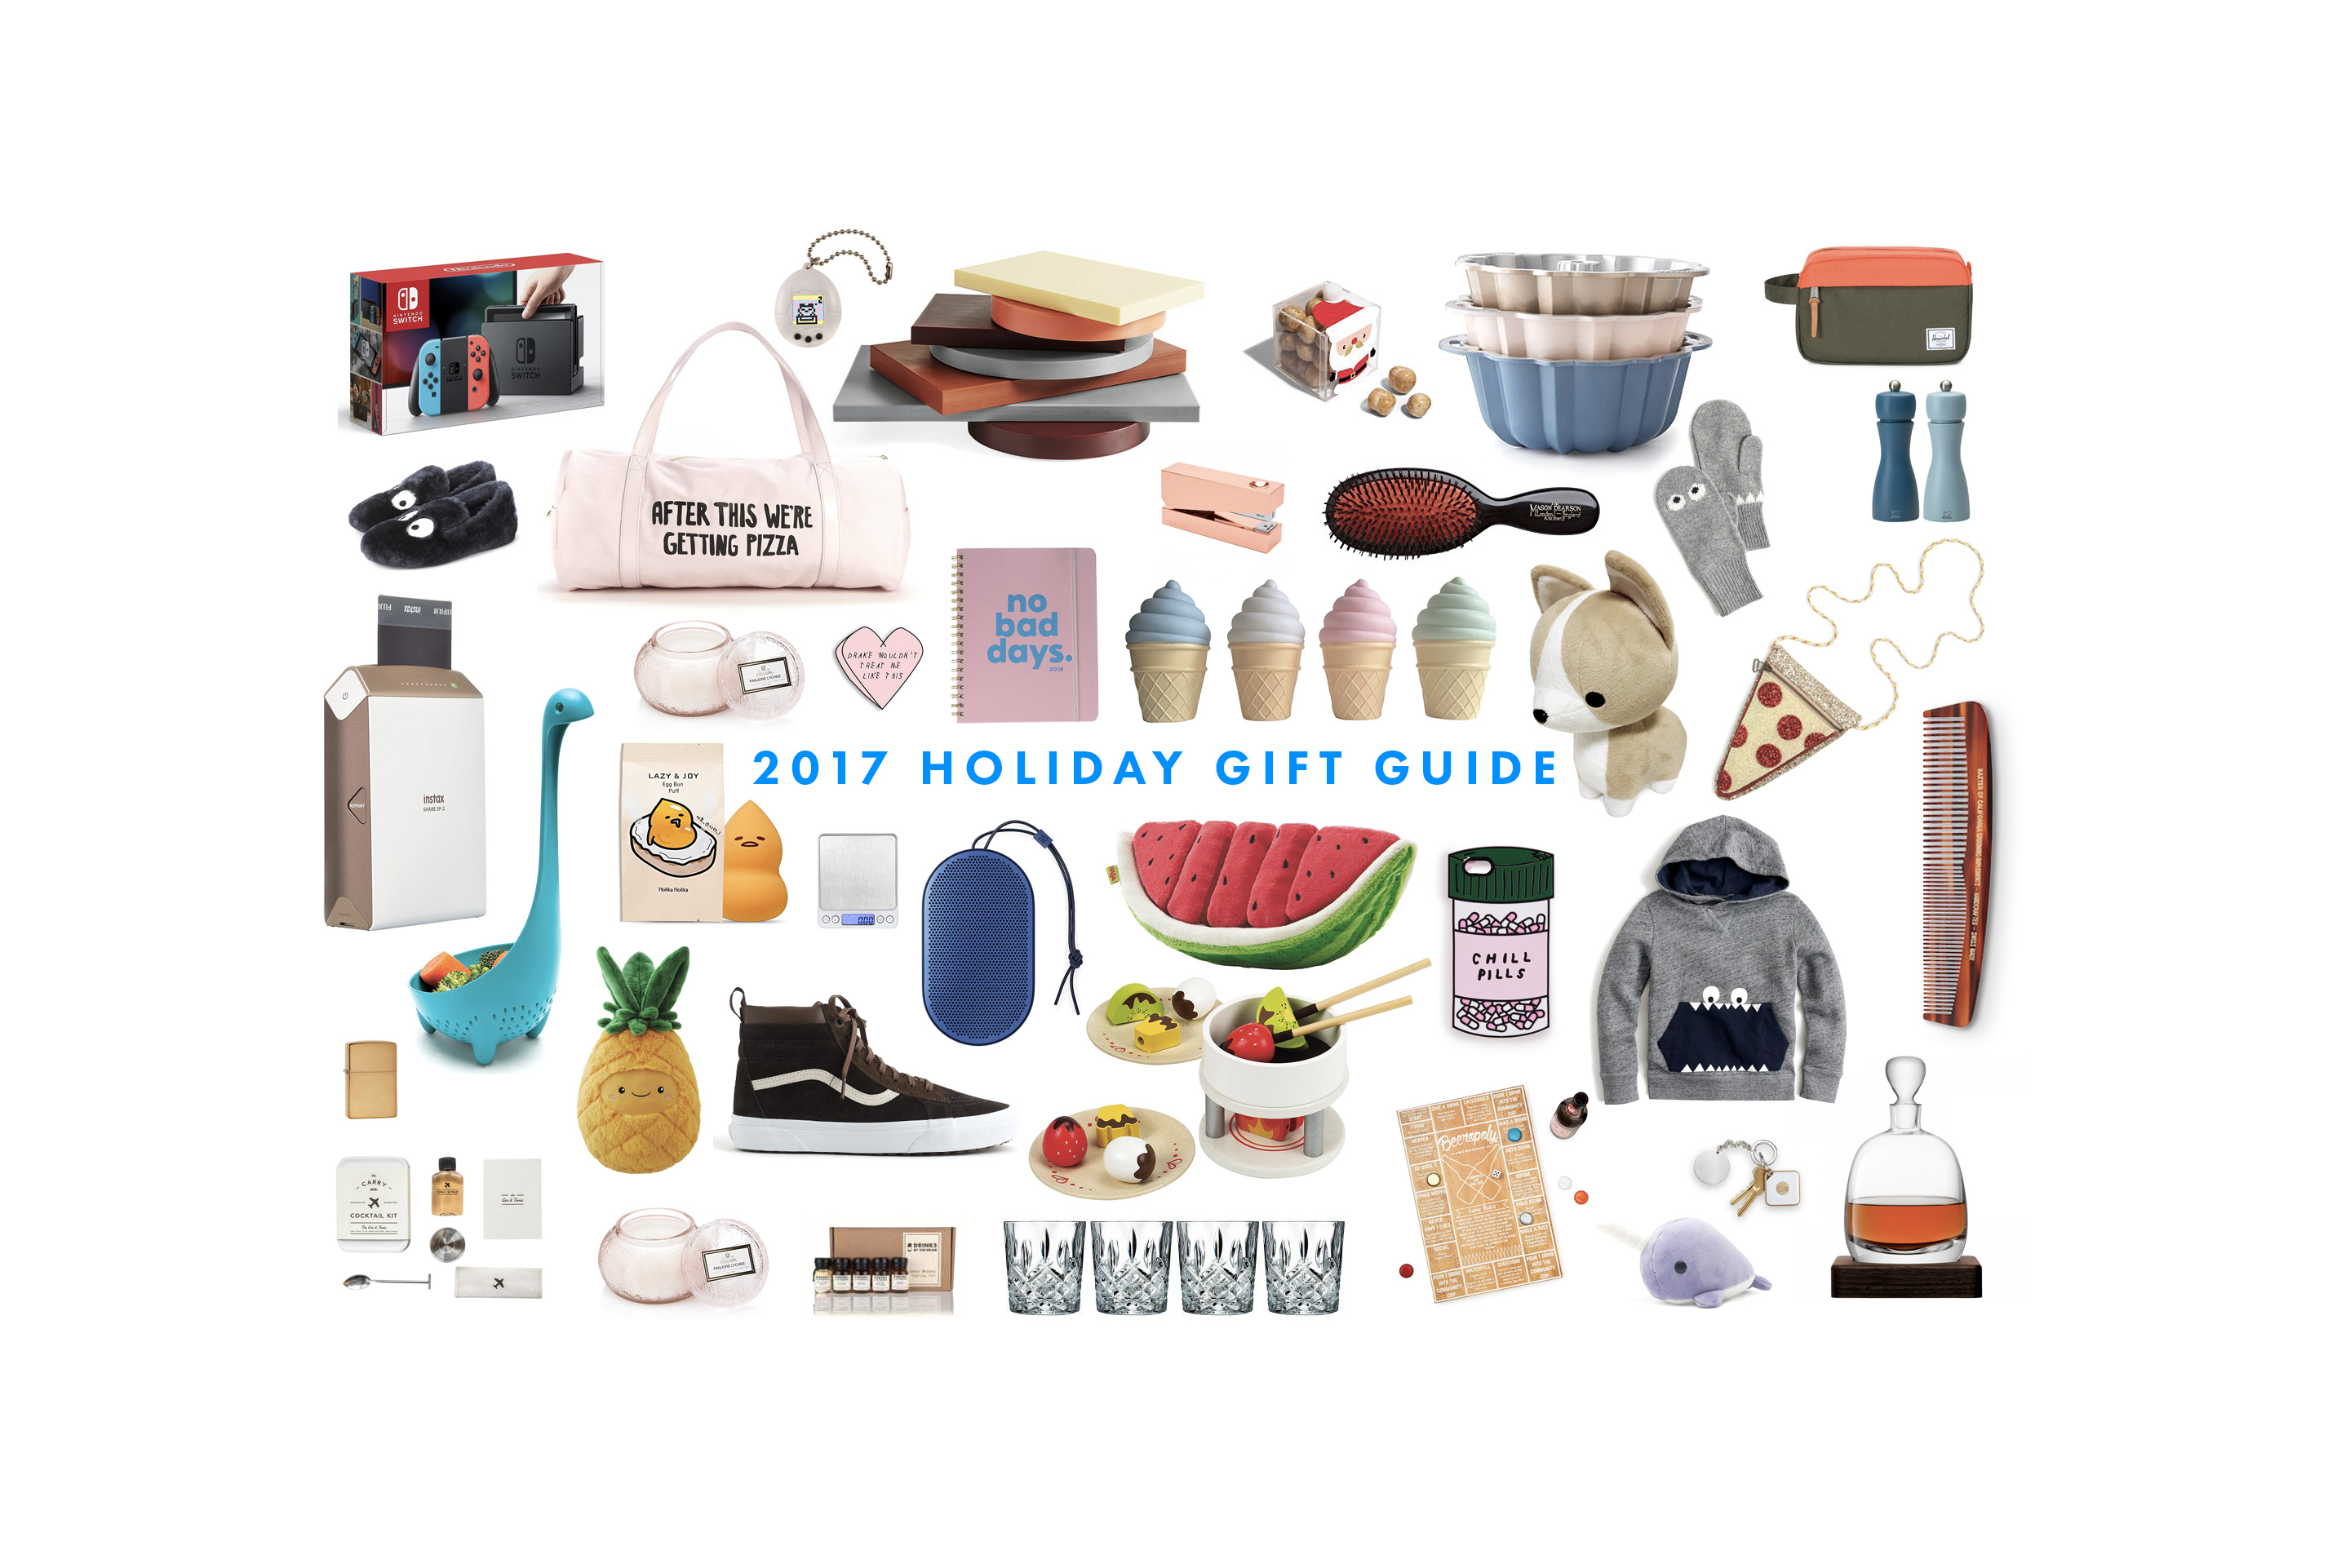
I Am... 2017 Holiday Gift Guide
It's officially holiday gift buying season! Get your 2017 gift guides right here for all the people you need to buy for in your life :)
Read More →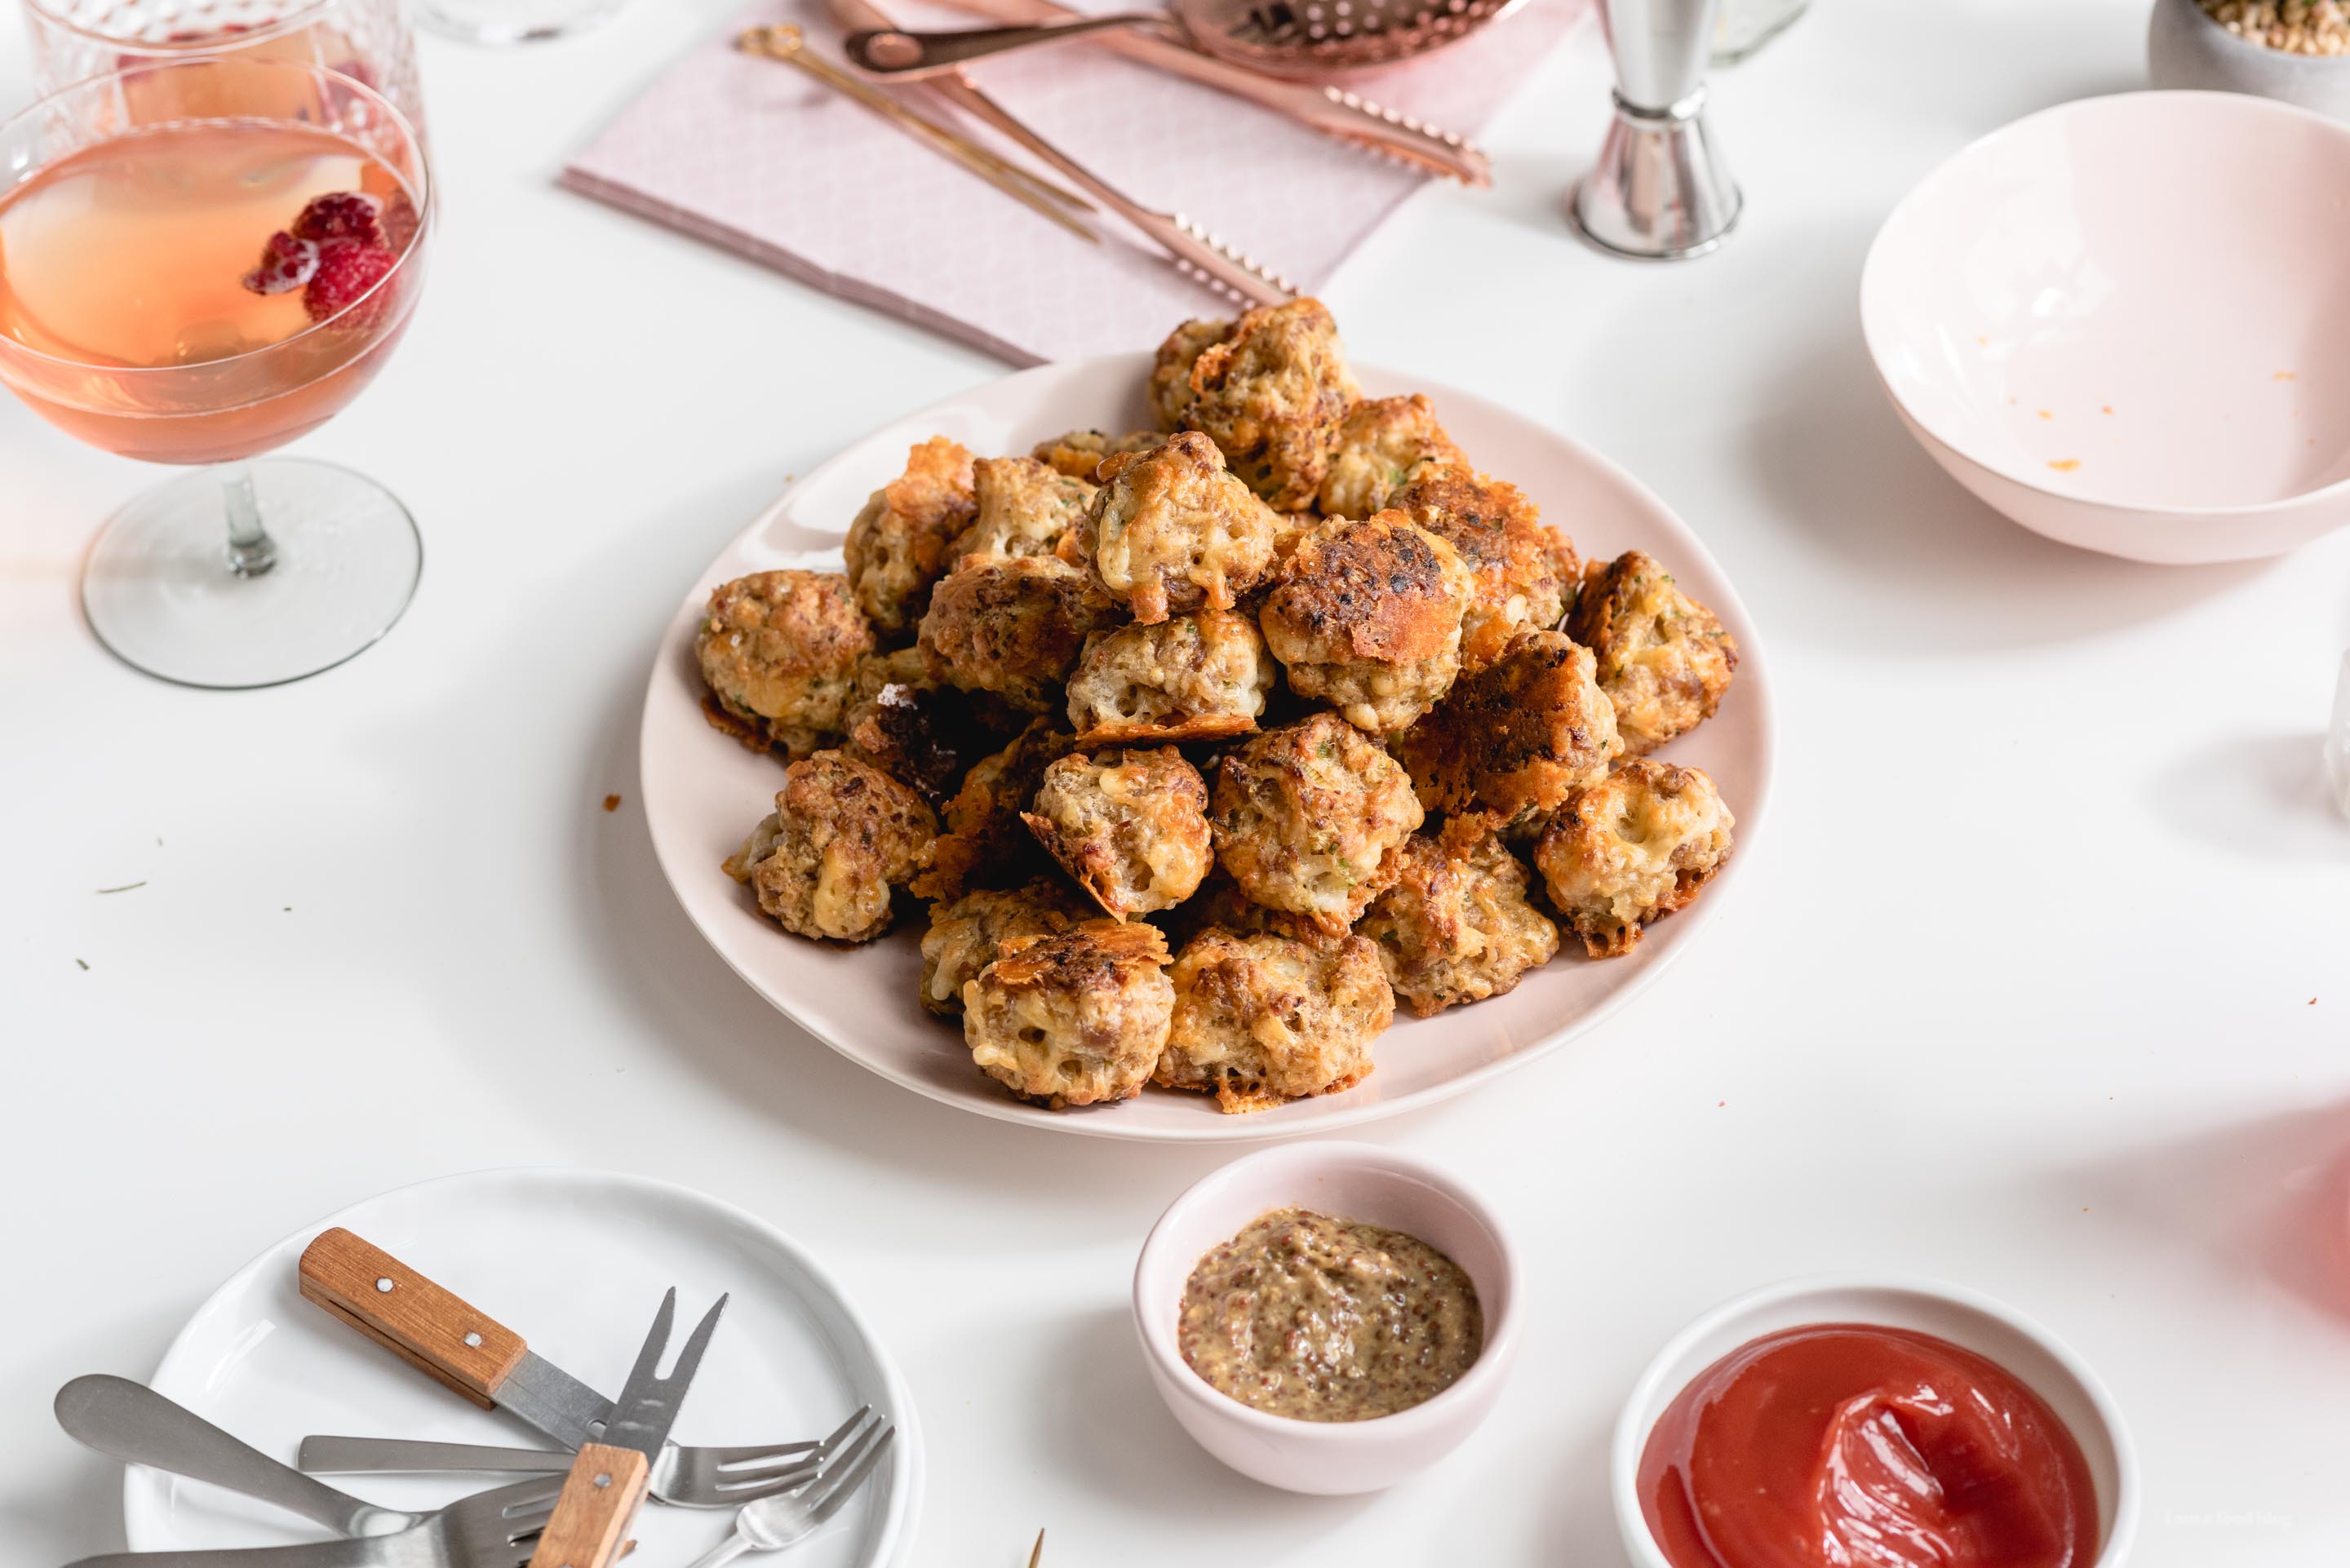
I Am... Addictive Appetizers: Sausage Cheese Balls Recipe
If you have a holiday party and I'm invited (I hope I'm invited!), I'll be hanging out at the appetizers, just eating away, awkwardly avoiding conversation unless it's about said appetizers. I swear I could live on appetizers (or mini food items) because I love variety. But then again, if I really like something, I can eat a lot of it and mini makes it more fun. Fun like these sausage cheese balls.
Read More →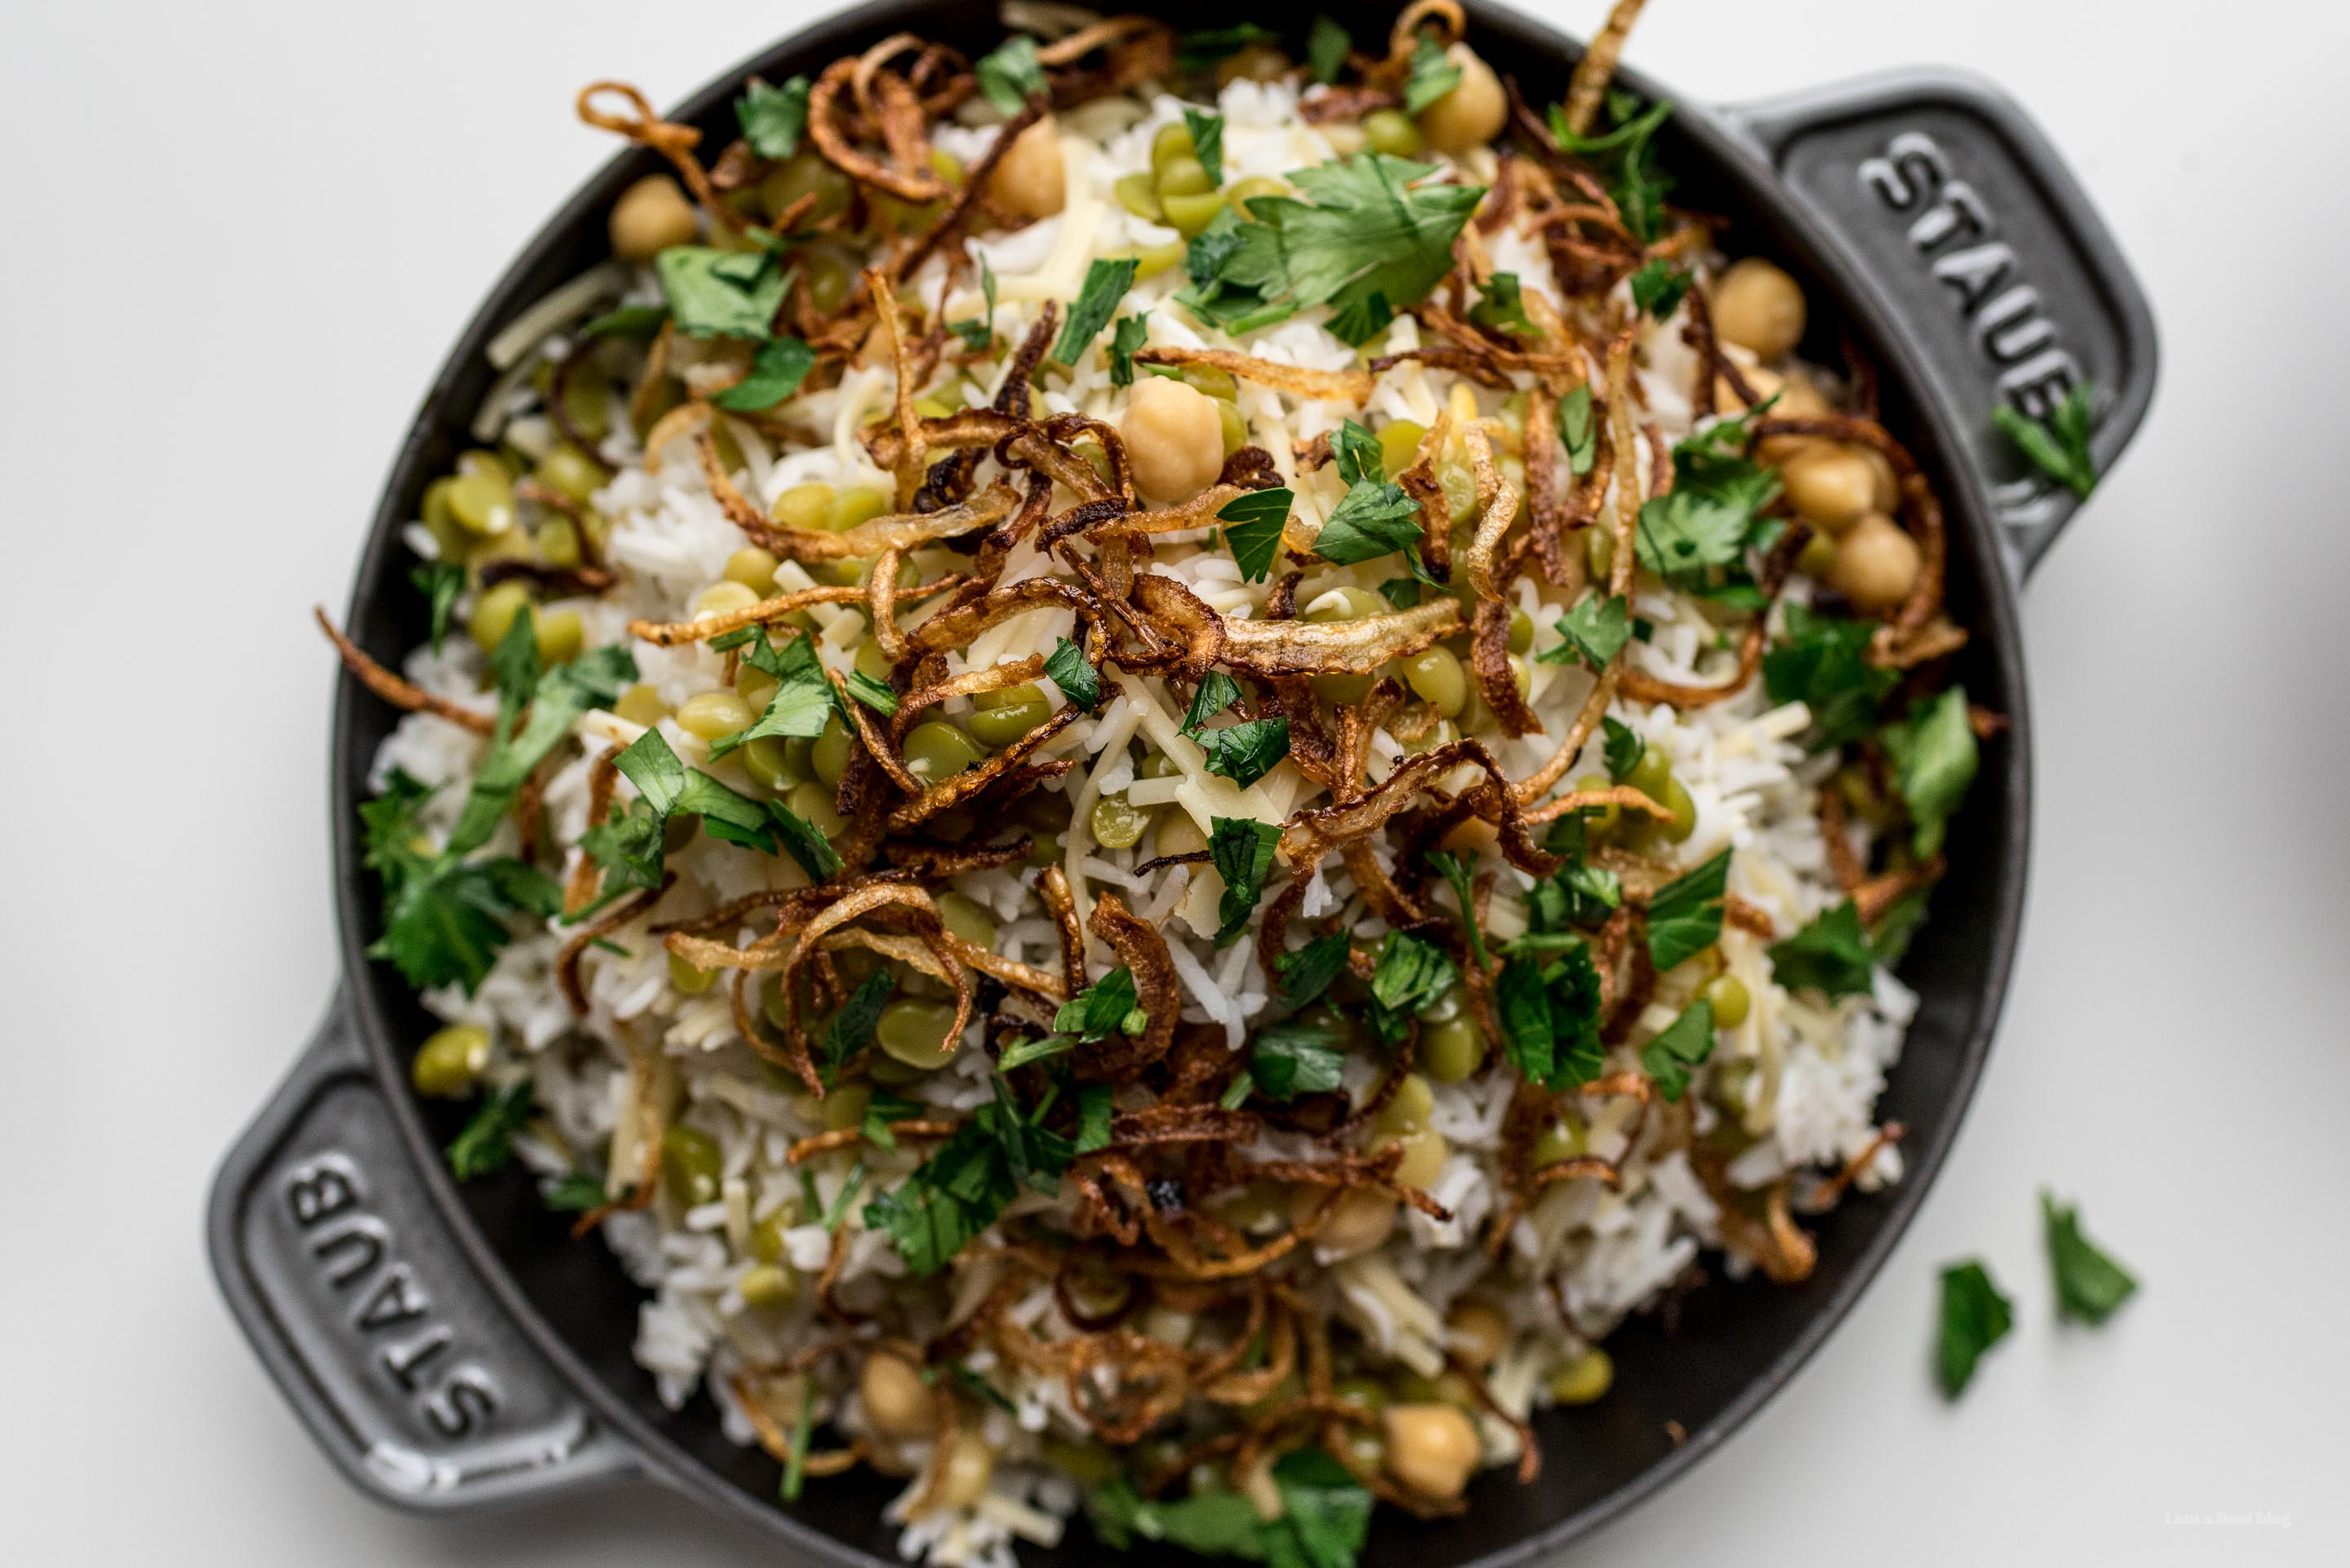
I Am... Egyptian Kosheri Rice Recipe
When I was a kid, I was one of those weird kids that didn't like my food touching other food. It wasn't very hard to avoid because I basically lived on white rice and cereal. Never together though, that would have been my nightmare. Actually, I'm not really into cereals being mixed together – you know, the way some people make up bowls of cereal that are essentially a bunch of different cereals in one bowl? I used to hate that, when my mom mixed up all the little leftover bits of all the boxes of cereal so it could make up a full bowl. Gross! But, I think I've grown out of that particular problem because I like chex mix now. And what's more, I kind of like all different kinds of things mixed together. Things like this incredible carbs on carbs on carbs dish called kosheri.
Read More →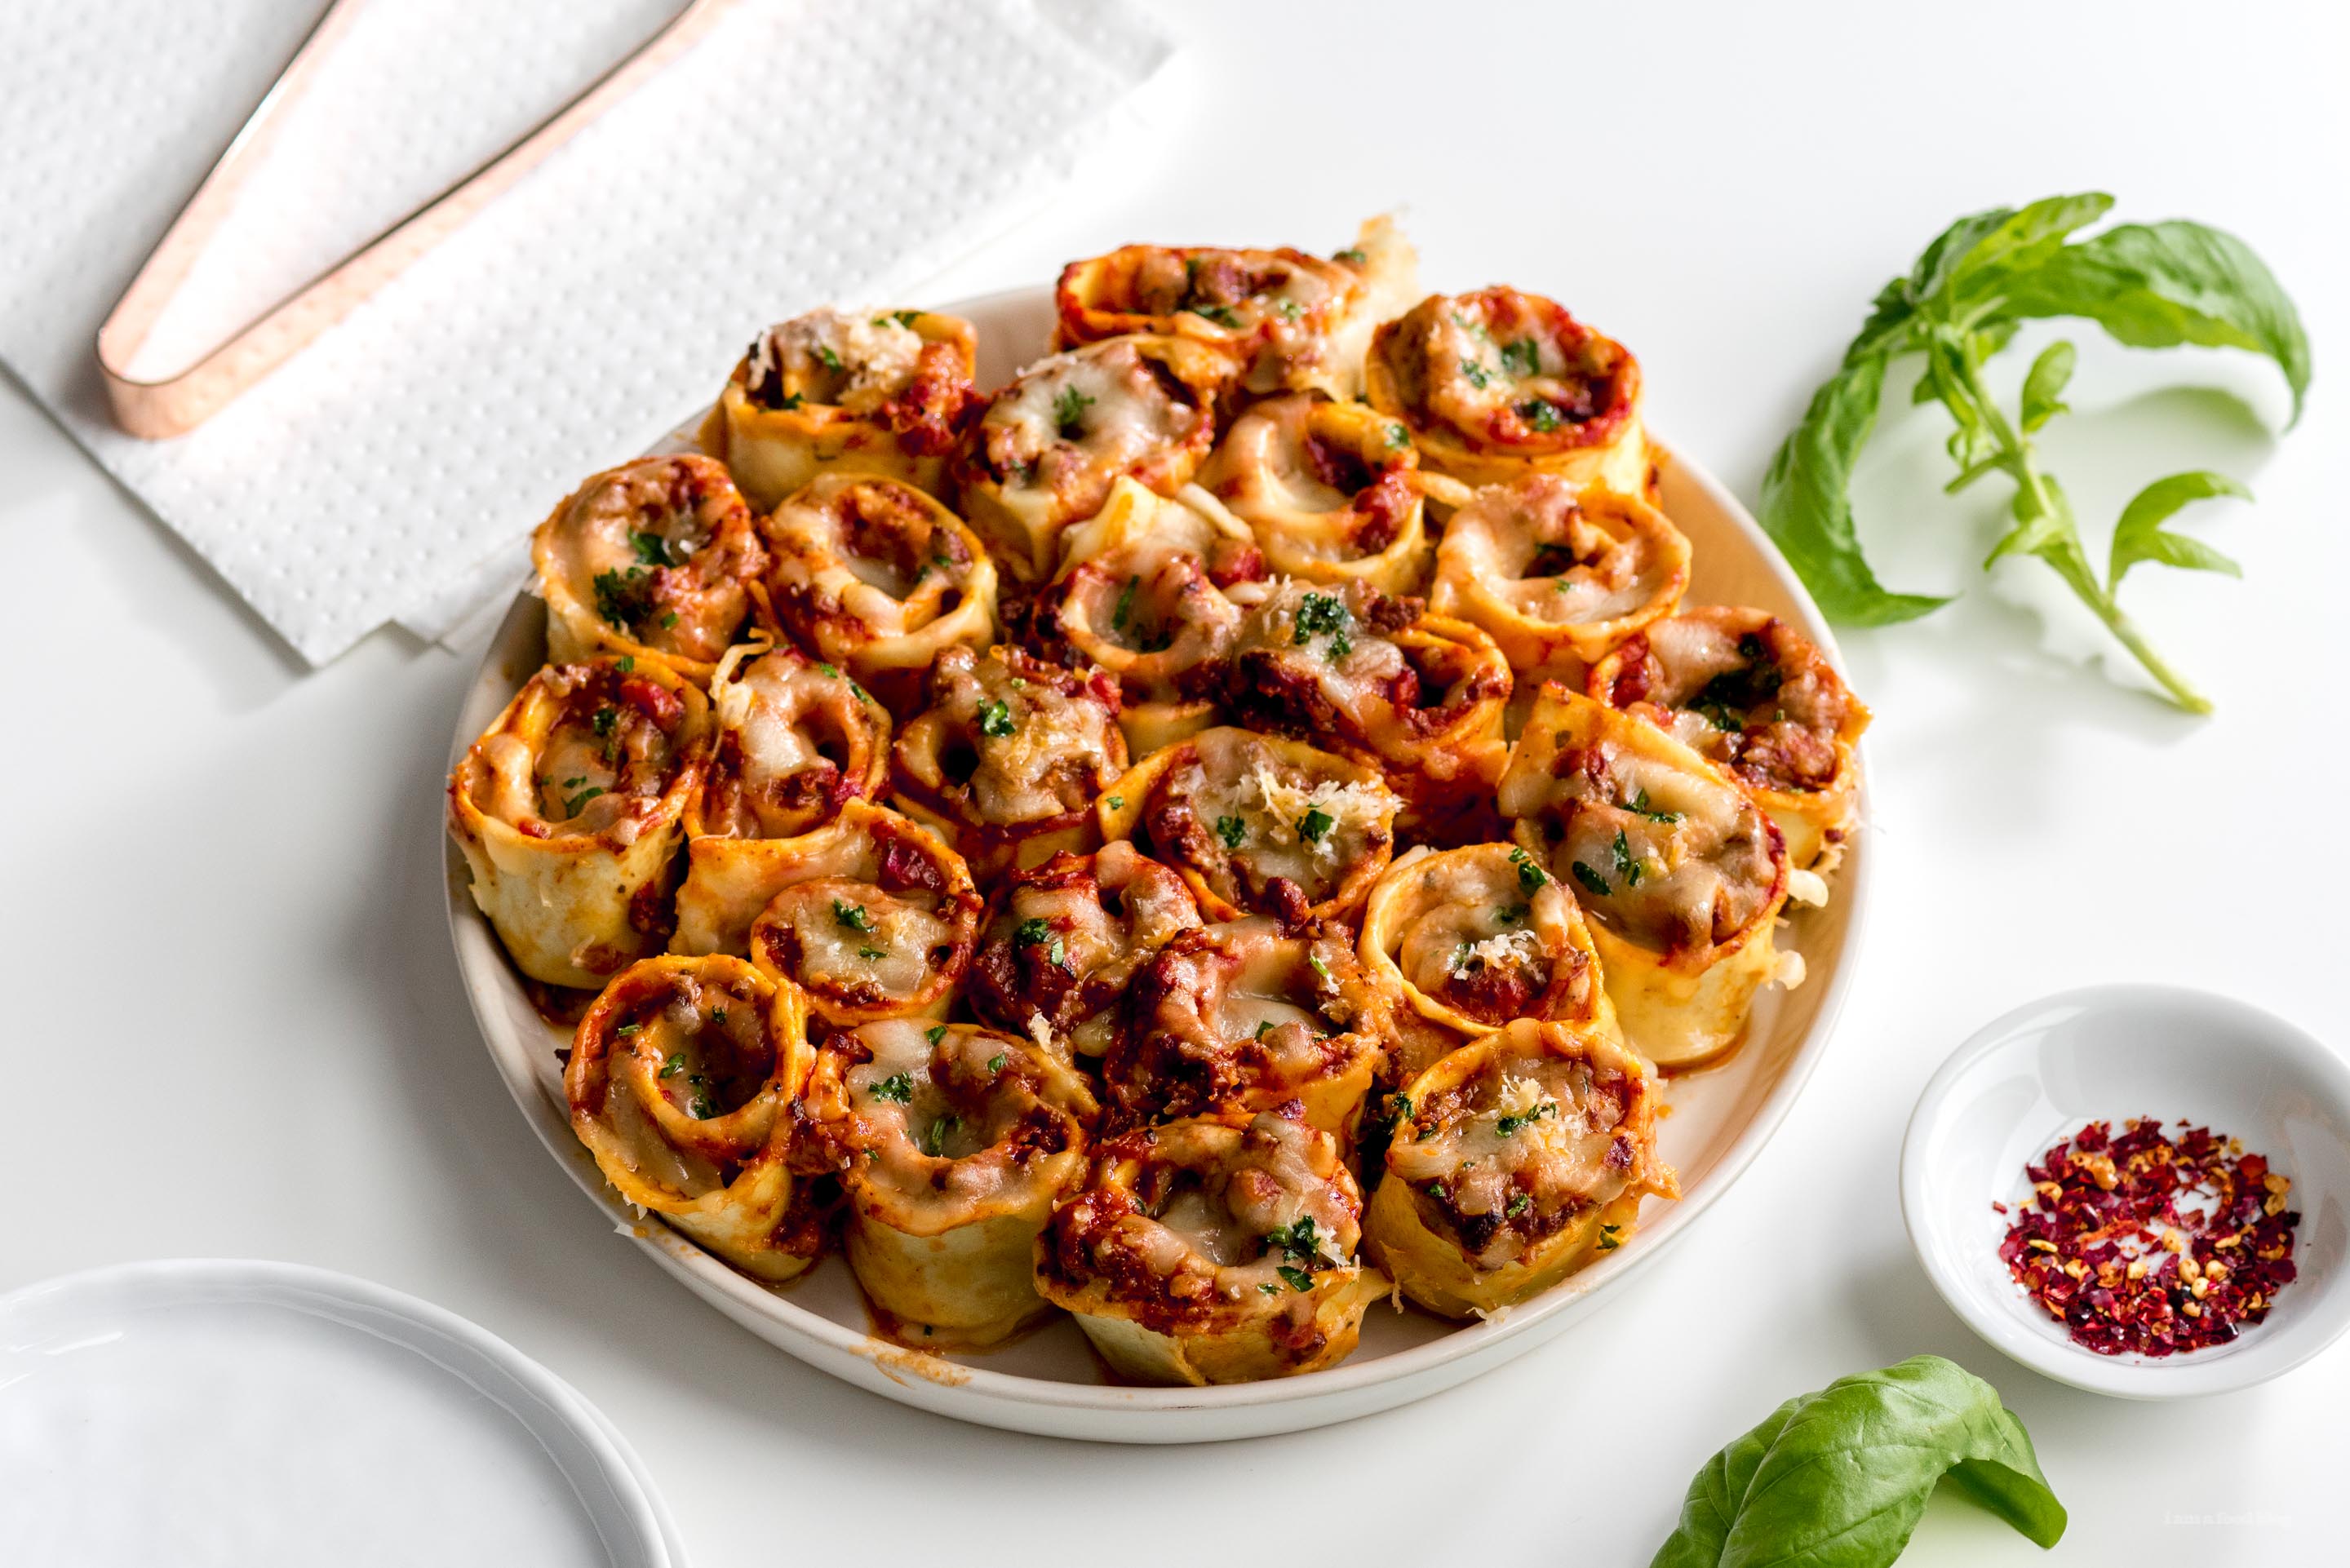
I Am... One Bite Mini Lasagna Roll Ups Recipe
I think lasagna might be one of my favorite ever pasta dishes. It might be a hold over from when I was little, but most likely it is just because it is so good. When I was small, my brother was obsessed with lasagna. It might have been because of his love for Garfield, but maybe he, like everyone else in the world, loves baked noodles, sauce, and cheese? I'll have to ask him. Anyway, for that reason alone lasagna really reminds me of childhood and all that is right in the world.
Read More →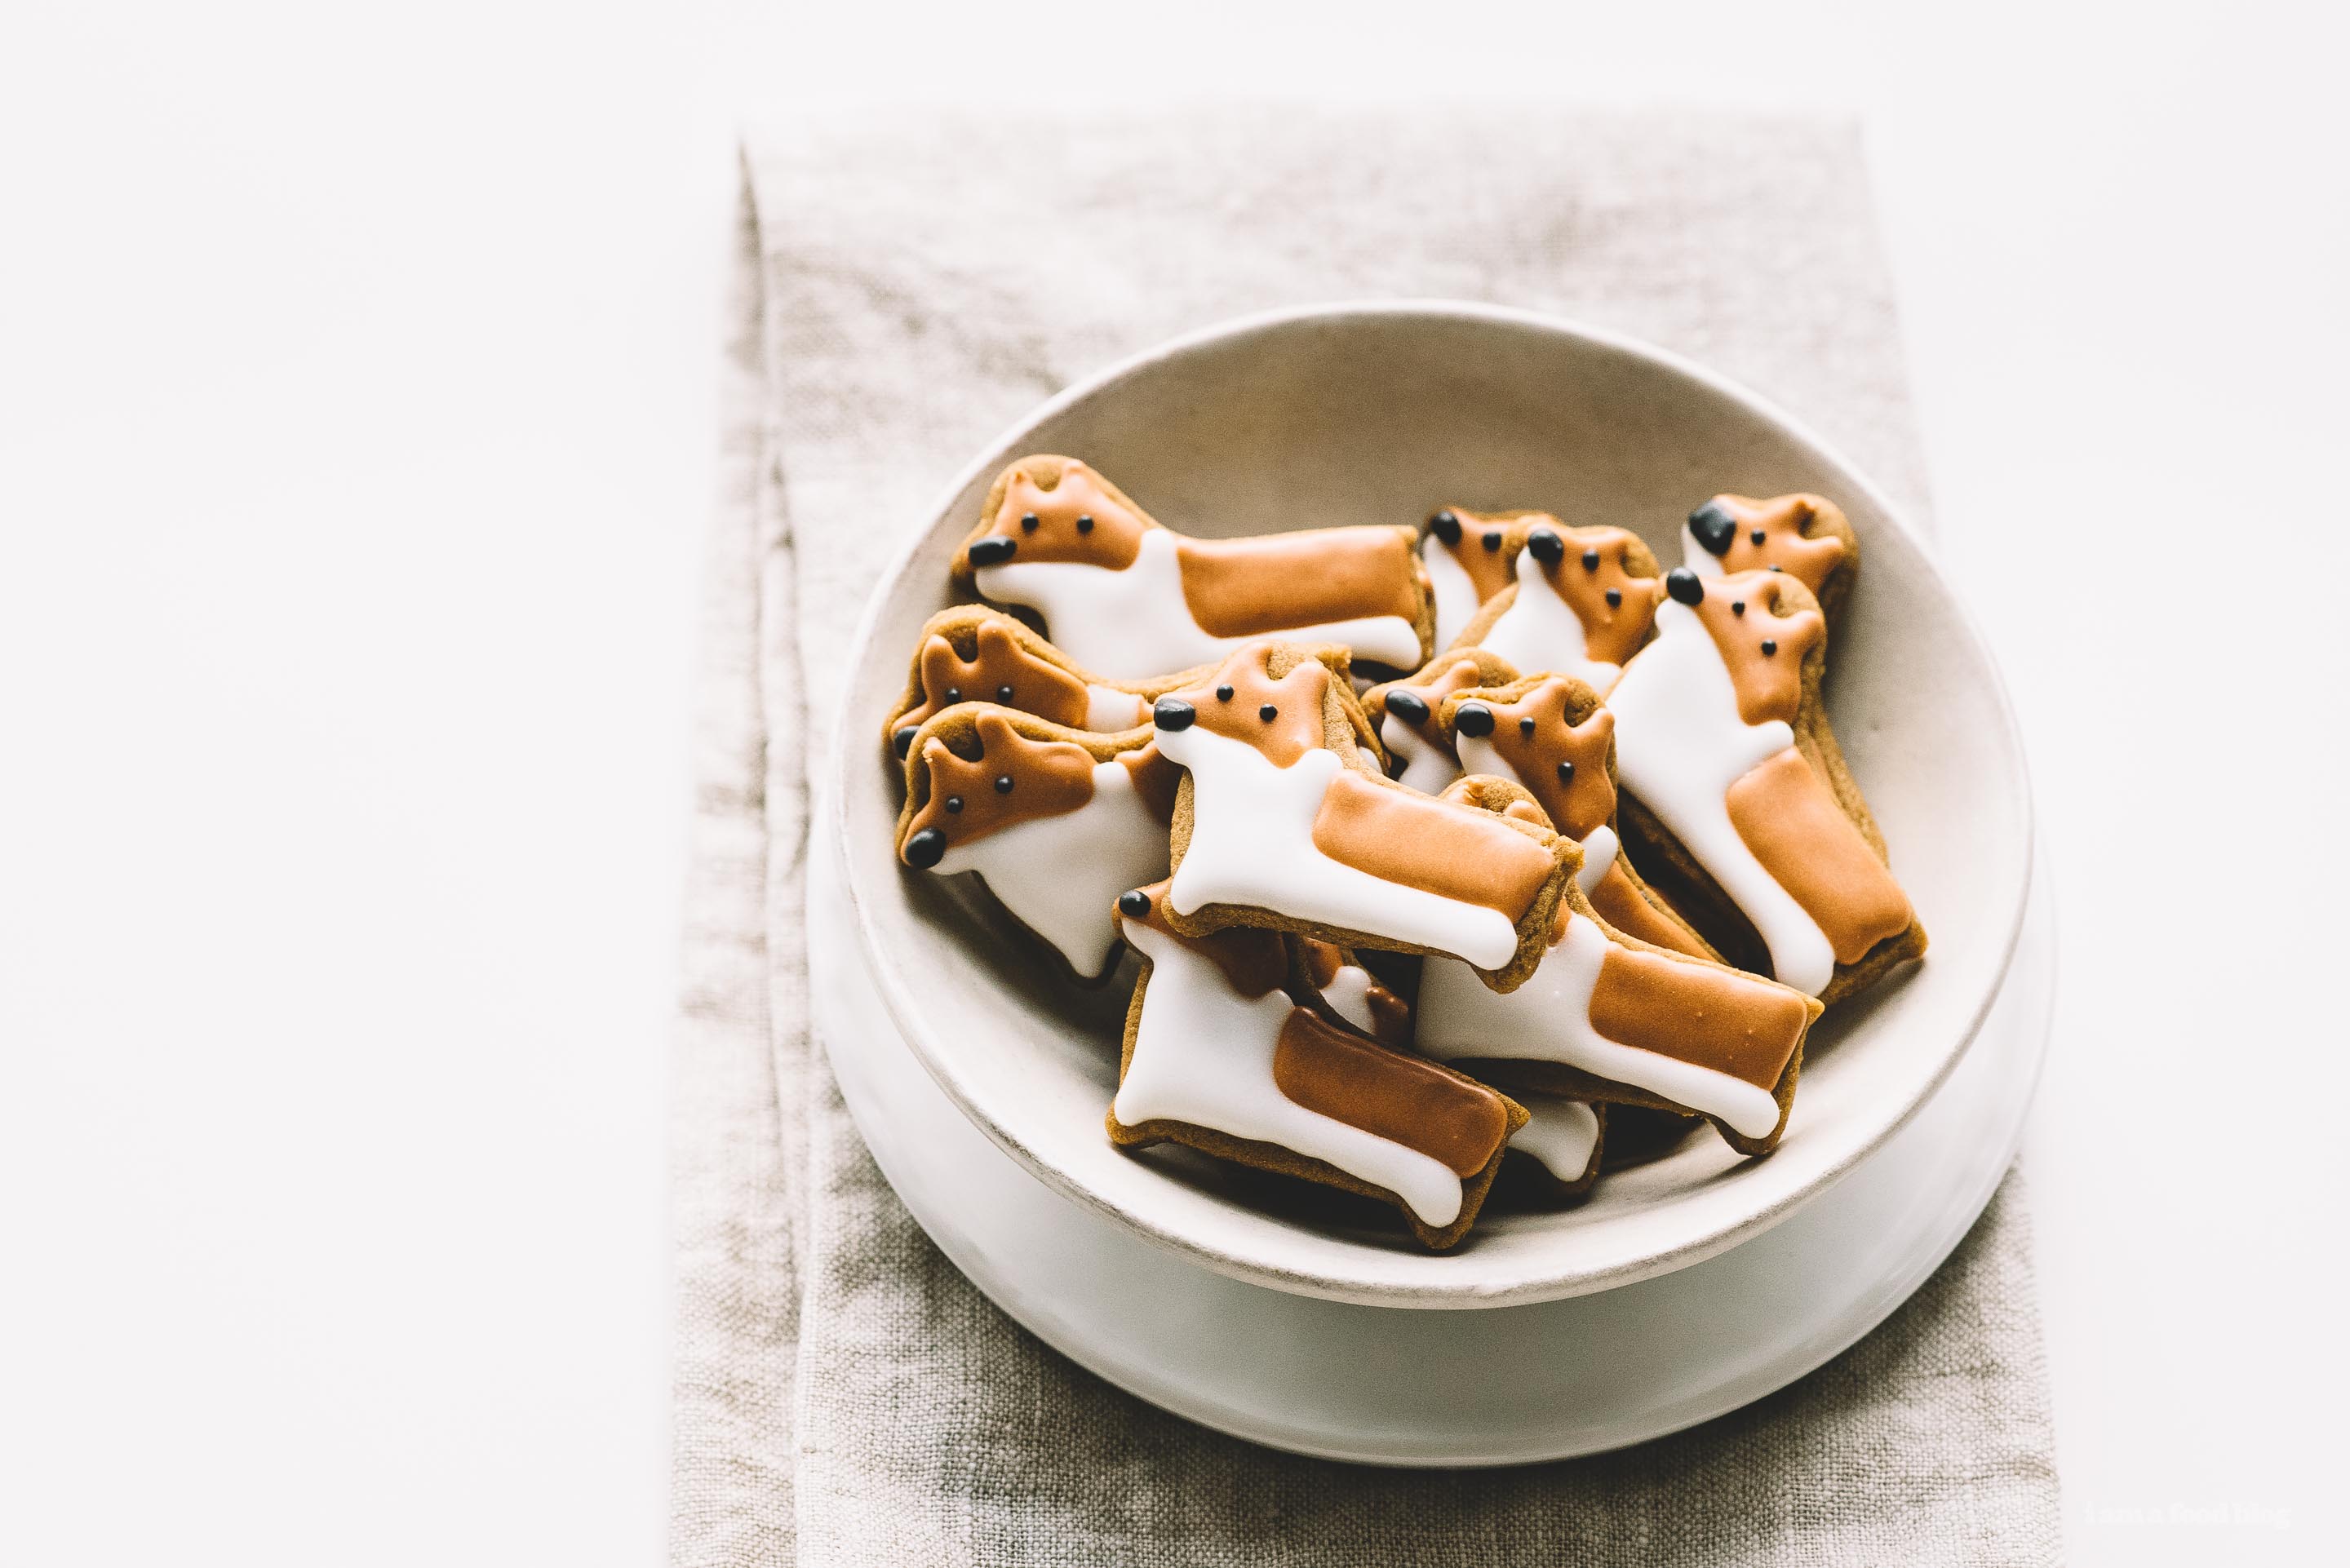
I Am... Friday Finds: 11.24.17
Happy Black Friday! Are you guys going shopping? I prefer to do my shopping online these days, but I can appreciate the excitement of heading out and searching for deals. Personally though, I'm going to be relaxing, listening to Christmas music (do you guys have any playlists you recommend?), and sipping on minty hot chocolate. Give me ALL the wintertime feels :)
Read More →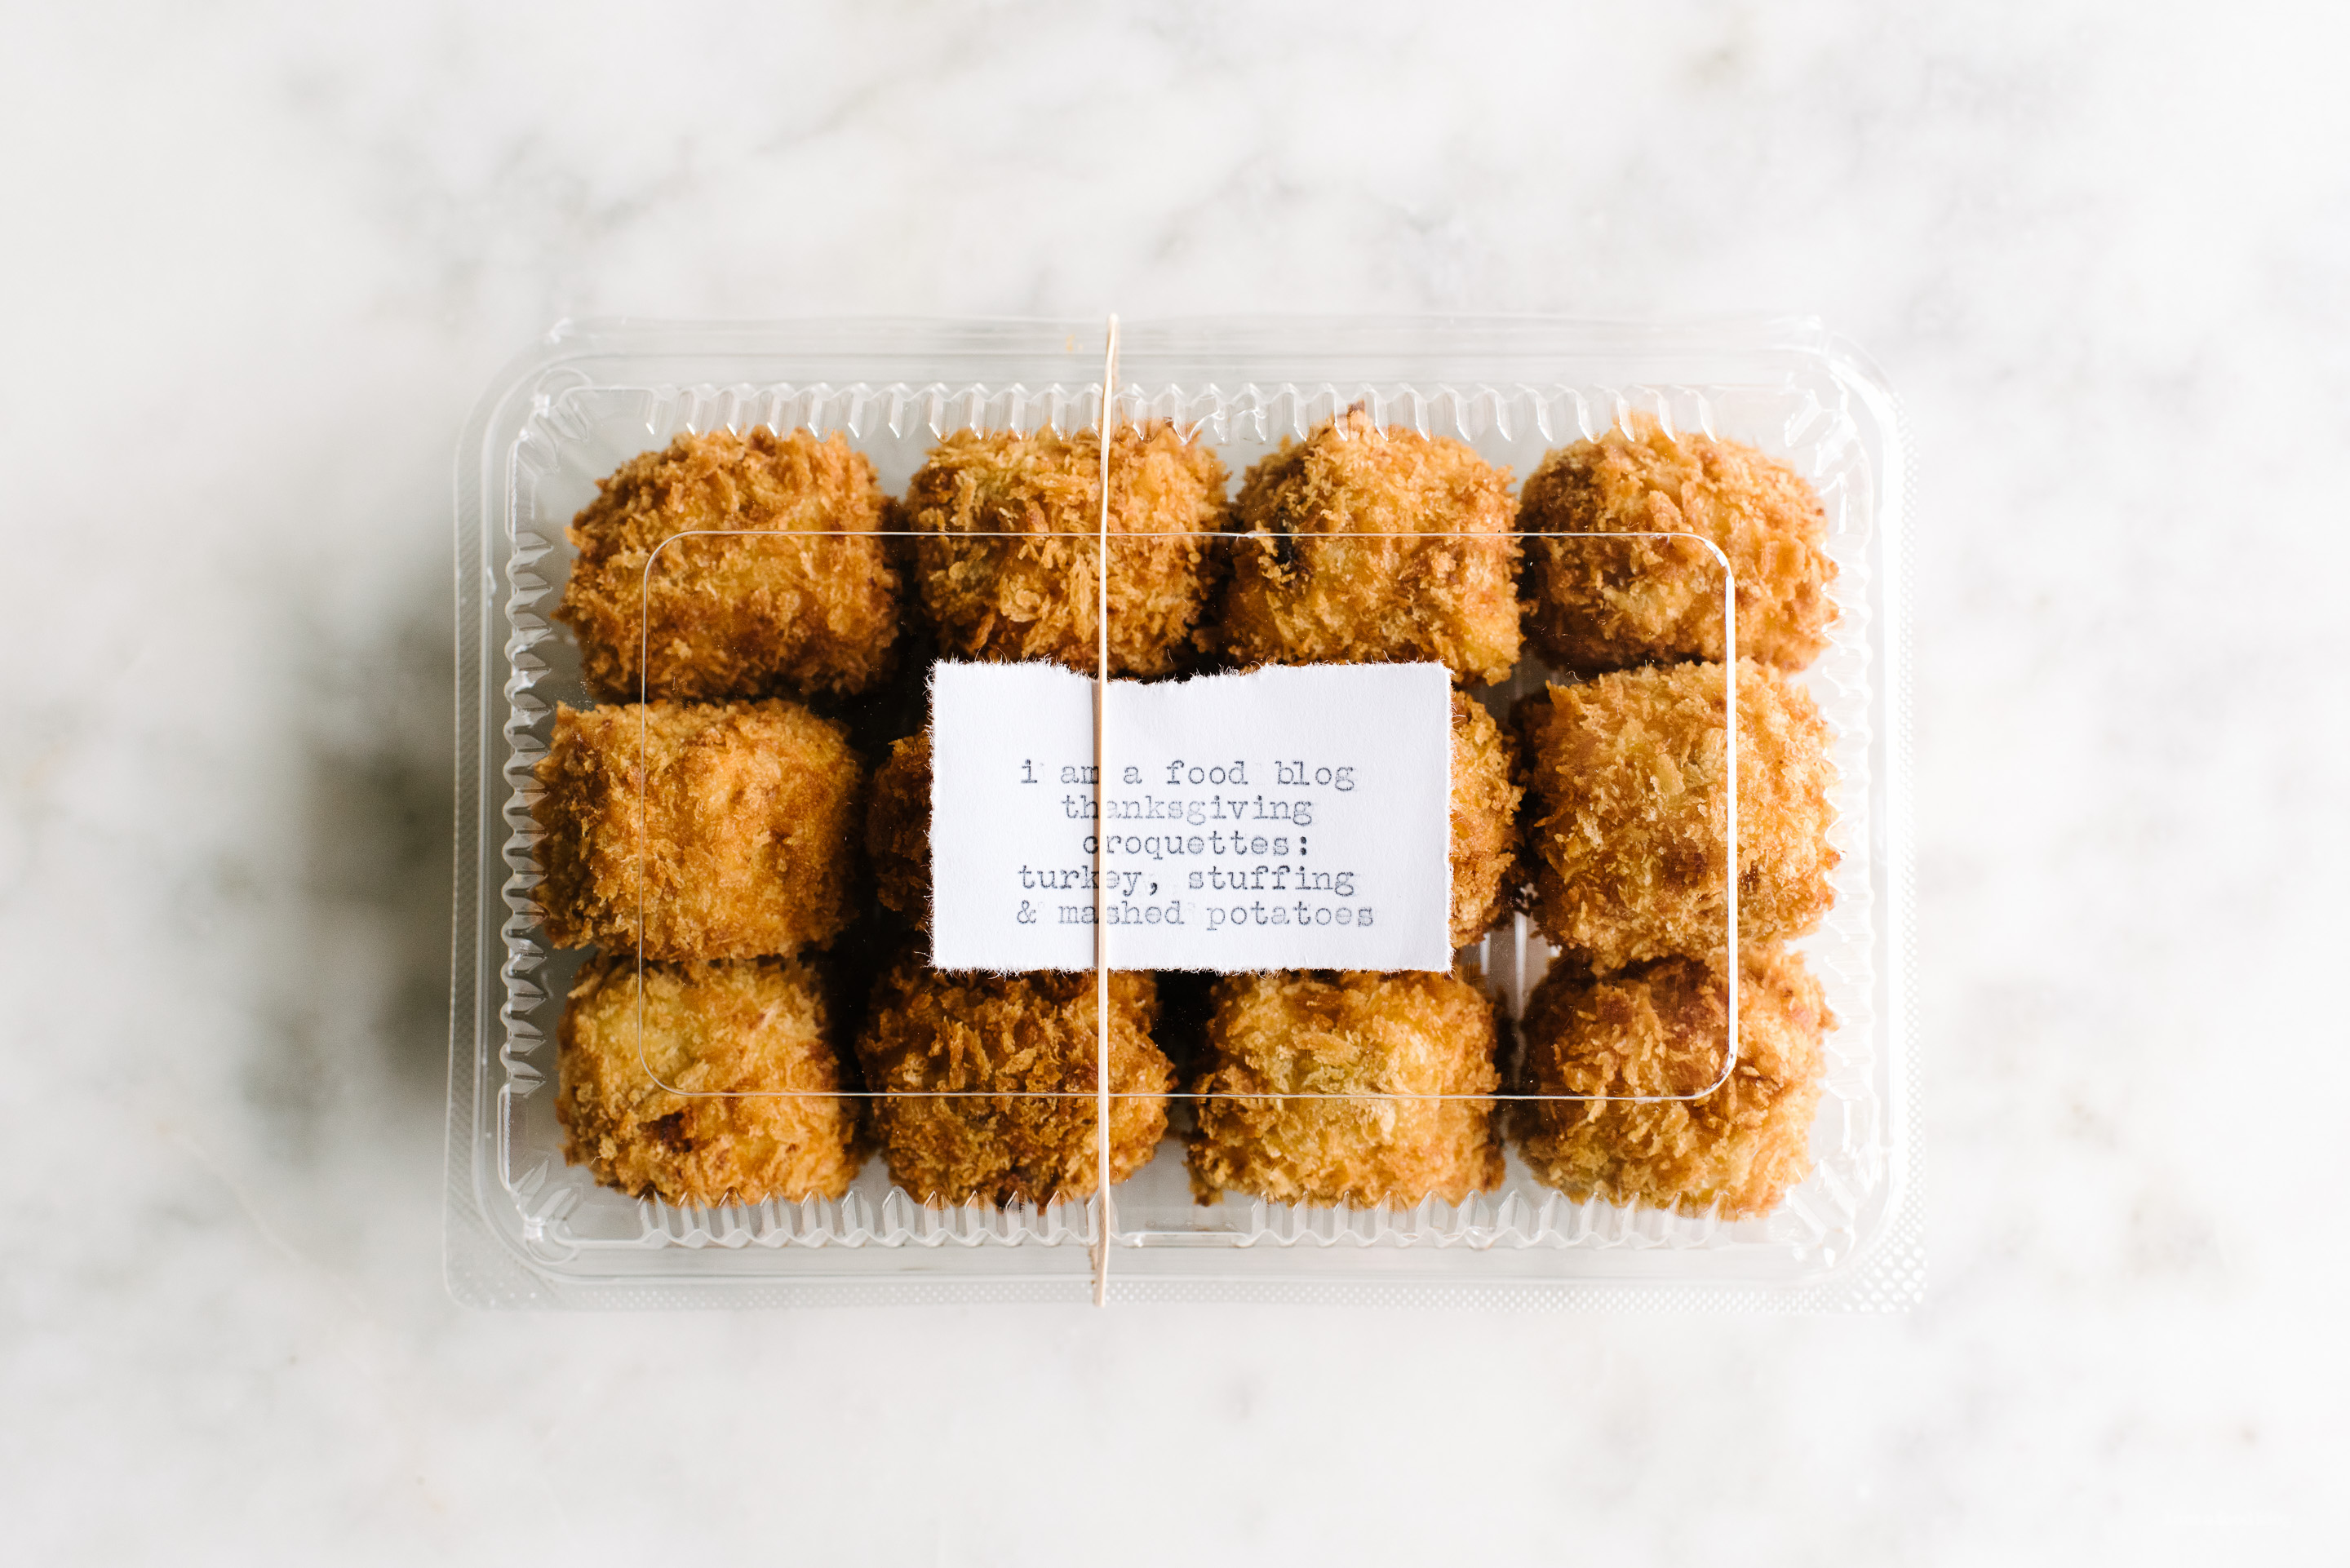
I Am... What to Cook in November: Bestovers Edition
Personally I LOVE leftovers. I love how easy they are to heat up, I love how some foods taste even better the next day, and most of all I love how they're practically instant. But, I get it, sometimes foods made into other foods are even better! So, here's a list of what to make with your thanksgiving leftovers – essentially turning them into bestovers!
Read More →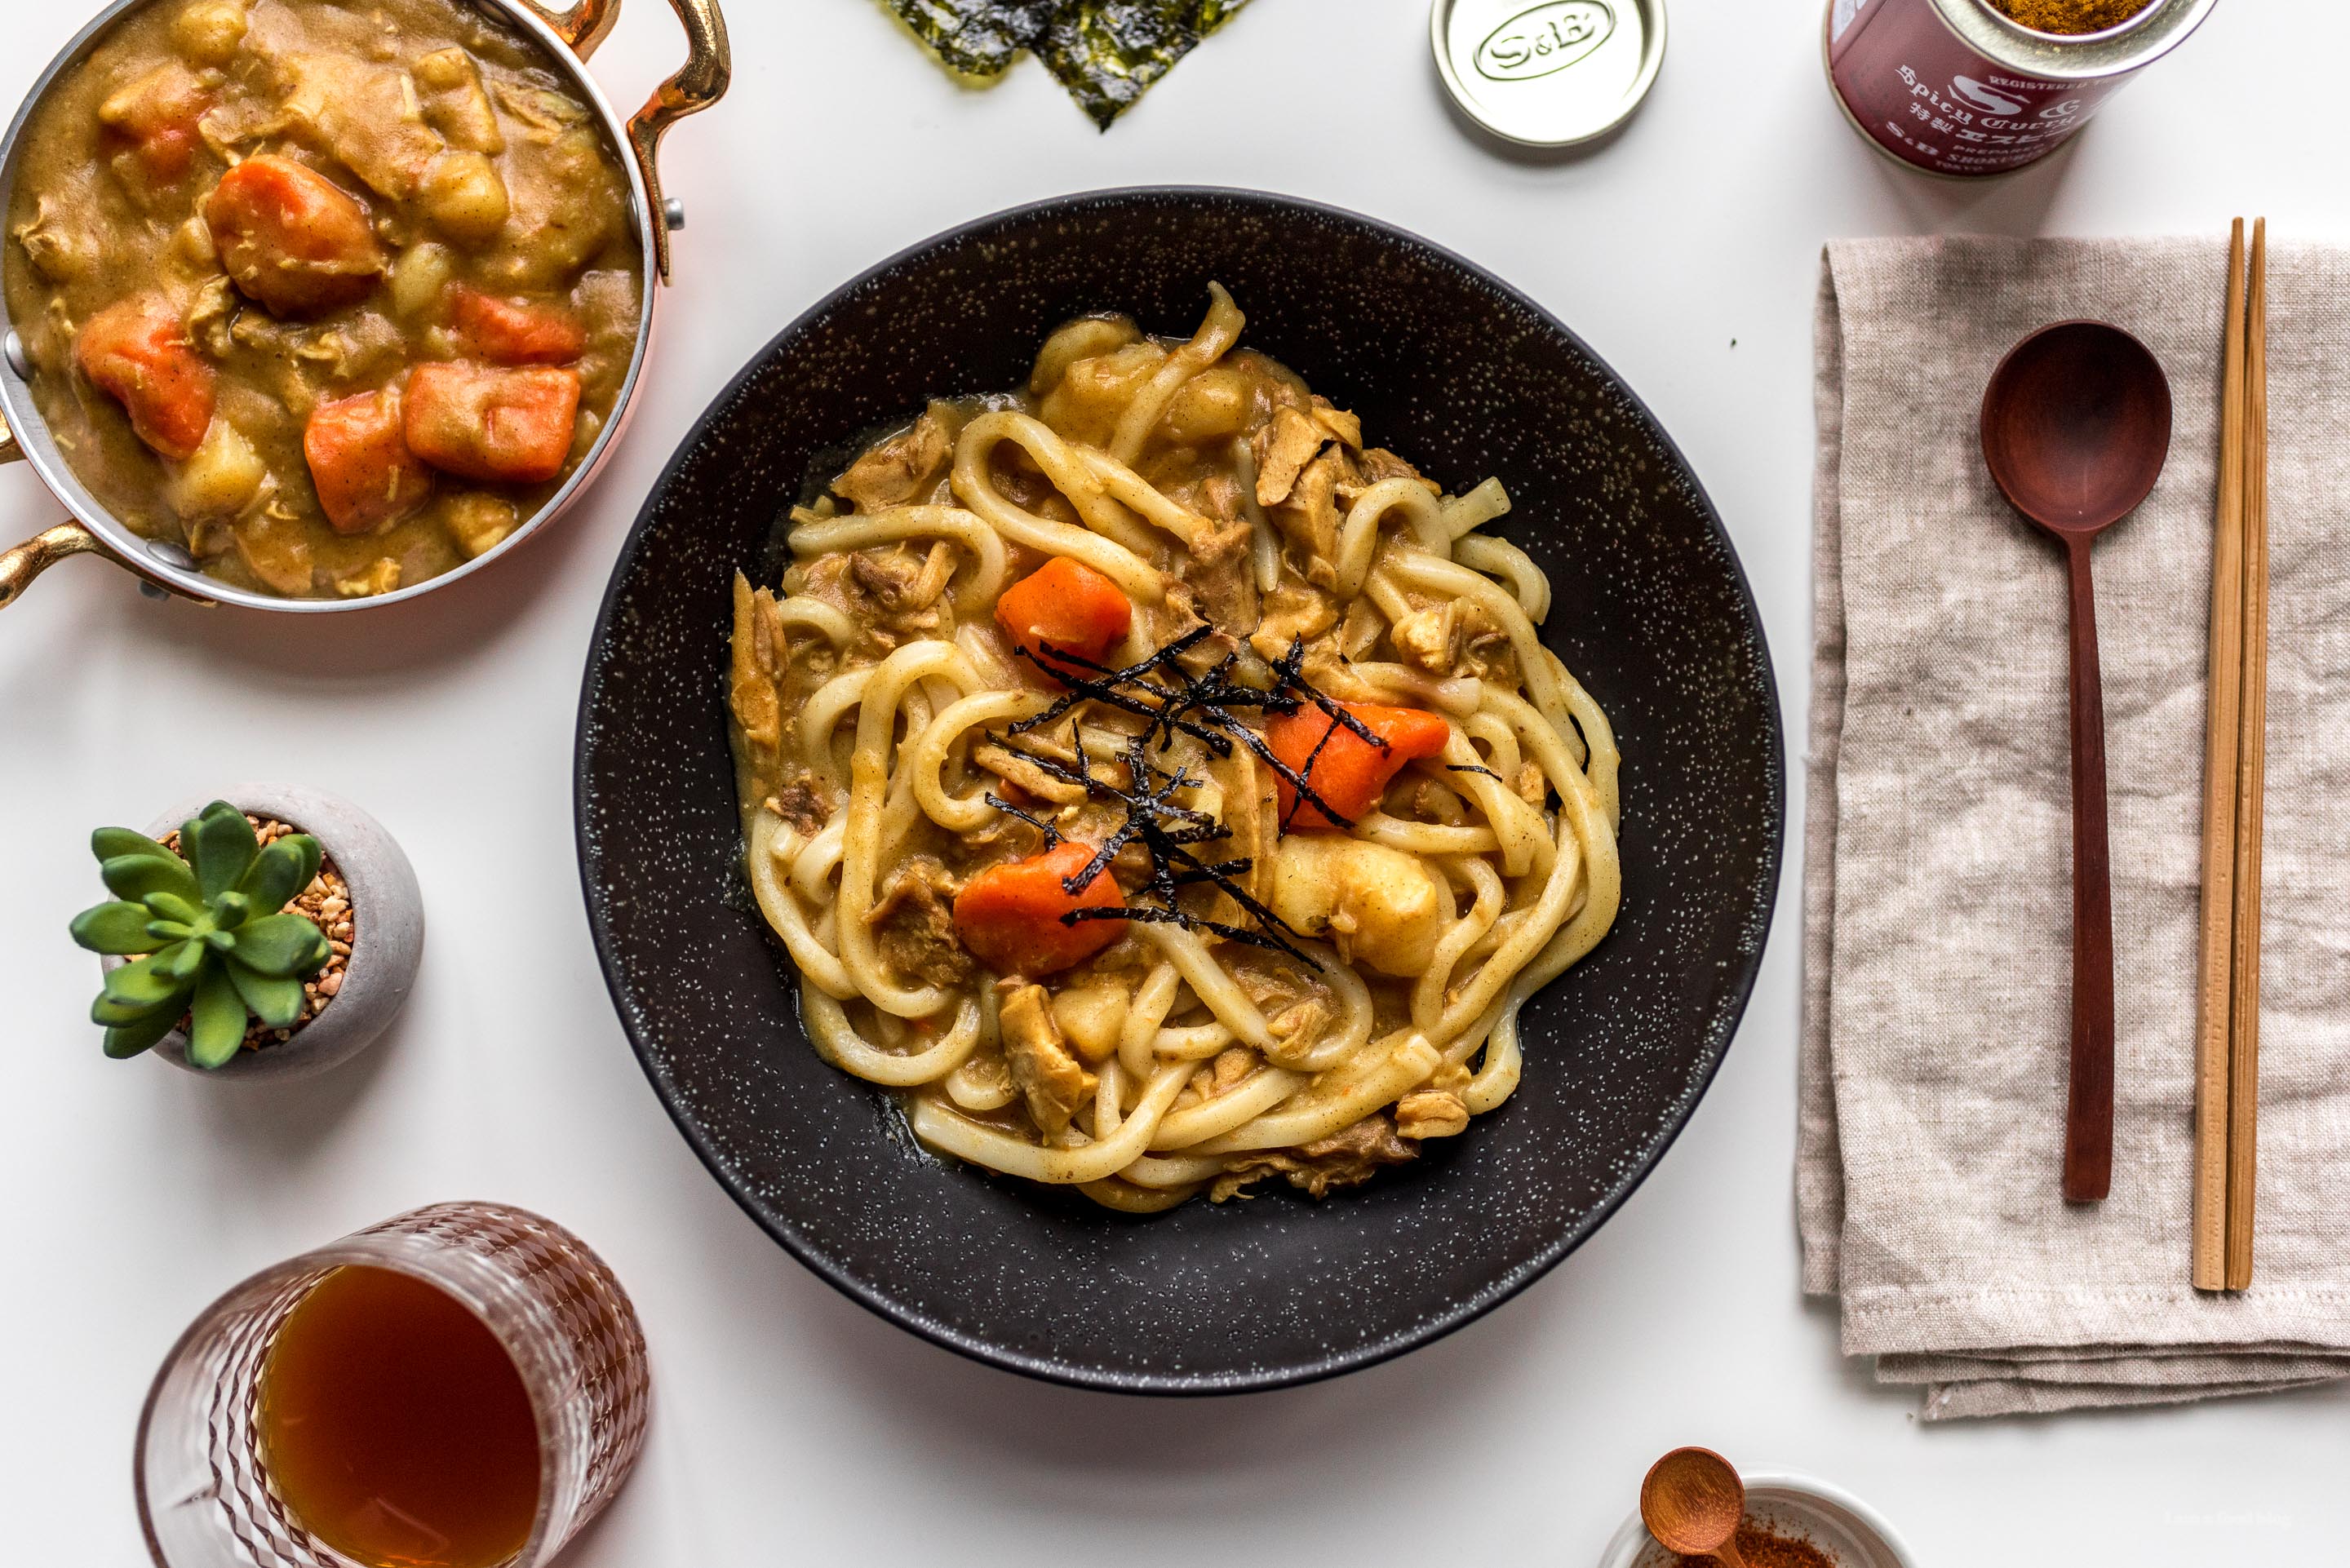
I Am... Turkey Curry Udon Recipe
Happy Thanksgiving! Hopefully all your sides are prepped and ready and your turkey is already spatchcocked. Thanksgiving is not a day for rushing around so I hope that all of your preplanning worked out and you're now just chilling and enjoying family time and the parade on TV. Or maybe you're watching the parade on the internet? This is 2017 after all. Anyway, whatever you may be doing, I wish you lots and lots and lots of food. It's the one time of year that food comas are accepted, nay, wished for, so enjoy it while you can! And, tomorrow, when you wake up with your turkey hangover, maybe you'll make some turkey curry?! I'm a huge fan of Japanese curry. It's creamy (without actually having cream in it), comforting, and oh so delicious. One of my favorite ways to enjoy curry is with udon. Curry udon is incredibly popular in Japan. Not as popular as curry rice, but if I had to choose between udon and rice, udon would always win because I'm all about that noodle life. Here I went the easy route and used leftover turkey and some Japanese curry roux cubes. Those are those little rectangular packages that you see at Japanese grocery store. The roux cubes are made of curry powder, flour, some sort of fat and a bunch of additives that you probably don't want to know about. You could of course, make your own curry roux but Japanese curry from a package was one of the first meals I ever made Mike so I'm still a little nostalgic about it. It's actually a hilarious story because the first Japanese curry I made Mike he didn't actually like. See, Japanese curry is not really like any other curry. Sure, it has curry powder in it, but that's where the similarities between Japanese curry and other curries start and end. Curry was introduced to Japan by the British, which is already one culture removed from India, so it's not surprising that the Japanese put their own twist on it. Japanese curry is slightly sweeter, thicker, and very much like a stew with not too much meat, carrots, and potatoes. Typically, it's not very spicy which is probably why Mike didn't really like the first curry I made. Mike's a spicy fiend and now that we buy the extra hot variety of curry roux cubes, he loves the stuff. A couple of tips for making Japanese curry roux taste good: caramelize some onions, add carrots and potatoes, and instead of using water like the package suggests, use dashi or stock. Usually you'd use beef or chicken and fry it up, but here I used the leftover meat found on the bones from our carved up spatchcock turkey. I was taking a look at the bones after we used them to make stock and there was so much meat leftover! I used my hands and really dug into it and was surprised at how much meat there was. When I was a kid, my mom always used to yell at me for leaving meat on my drumstick bones so now I'm very peculiar about not wasting any meat on bones. It feels good to be using every possible part of something – I'm all about not wasting things. Anyway, Happy Thanksgiving! stuffing and potatoes (because that's the good stuff), xoxo steph
Turkey Curry Udon Recipe serves 4Read More →In a large pot, add a bit of oil to the pan. Over medium heat, cook the onions, stirring, until brown and slightly caramelized. Add the carrots and potatoes and cook slightly until a light crust forms. (this helps them stay together instead of disintegrating into the curry). Add the turkey as well as the appropriate amount of stock, usually 2.5 cups, but double check on your curry package. Bring to a simmer over medium heat and cook for 20 minutes or until the potatoes and carrots are tender. Stir in the curry roux cubes until completely incorporated. Let simmer on low heat while you cook the udon according to the package. Drain the udon well and serve the curry over the udon noodles and enjoy! Notes: They sell many varieties of curry roux at most Asian grocery stores. If you go to a Japanese store, they sell even more! We like S&B Brand, as well as Lee Curry. I always use frozen sanuki udon, which you'll find in the freezer section. The udon is firm, chewy, and way better than the udon you find in shrink wrapped packages.
- 1 onion, chopped
- 1 carrot, peeled and cut into 1 inch chunks
- 2 potatoes, peeled and cut into 1 inch chunks
- leftover turkey, about 3 cups chopped
- 1 package Japanese curry roux
- 2.5 cups turkey stock or dashi
- roasted seaweed to garnish, if desired

Latest Comment
“hi, yes to both! it might be a bit thin in a 13x9, so just be aware and keep an eye on it so it doesn’t over cook. If ...”Stephanie on Easiest Corn Pudding RecipePopular
 2015 Holiday Giveaway
  One-Pot Lemon Scallop Pea Spaghetti
  Beer Battered Onion Rings, Jalapeno Aioli
  2014 Holiday Gift Guide and a Giveaway
  Easy Gourmet Hot Wings and a Giveaway!
 The Ultimate Veggie Sandwich
  Vegan(!) Creamy Corn Soup Recipe
  Sunday Brunch: Grilled Cheese Eggs Benny
